


Audi A6 4B Avant Trunk Trim: A Simple DIY Guide
The Audi A6 4B Avant, with its spacious and versatile trunk, is a beloved wagon. Over time, the trunk trim, often subjected to wear and tear from luggage, groceries, and everyday use, can become damaged or unsightly. Replacing this trim can significantly improve the look and feel of your A6 Avant’s cargo area. This guide provides a straightforward, step-by-step approach to replacing your Audi A6 4B Avant trunk trim, empowering you to tackle this DIY project with confidence.
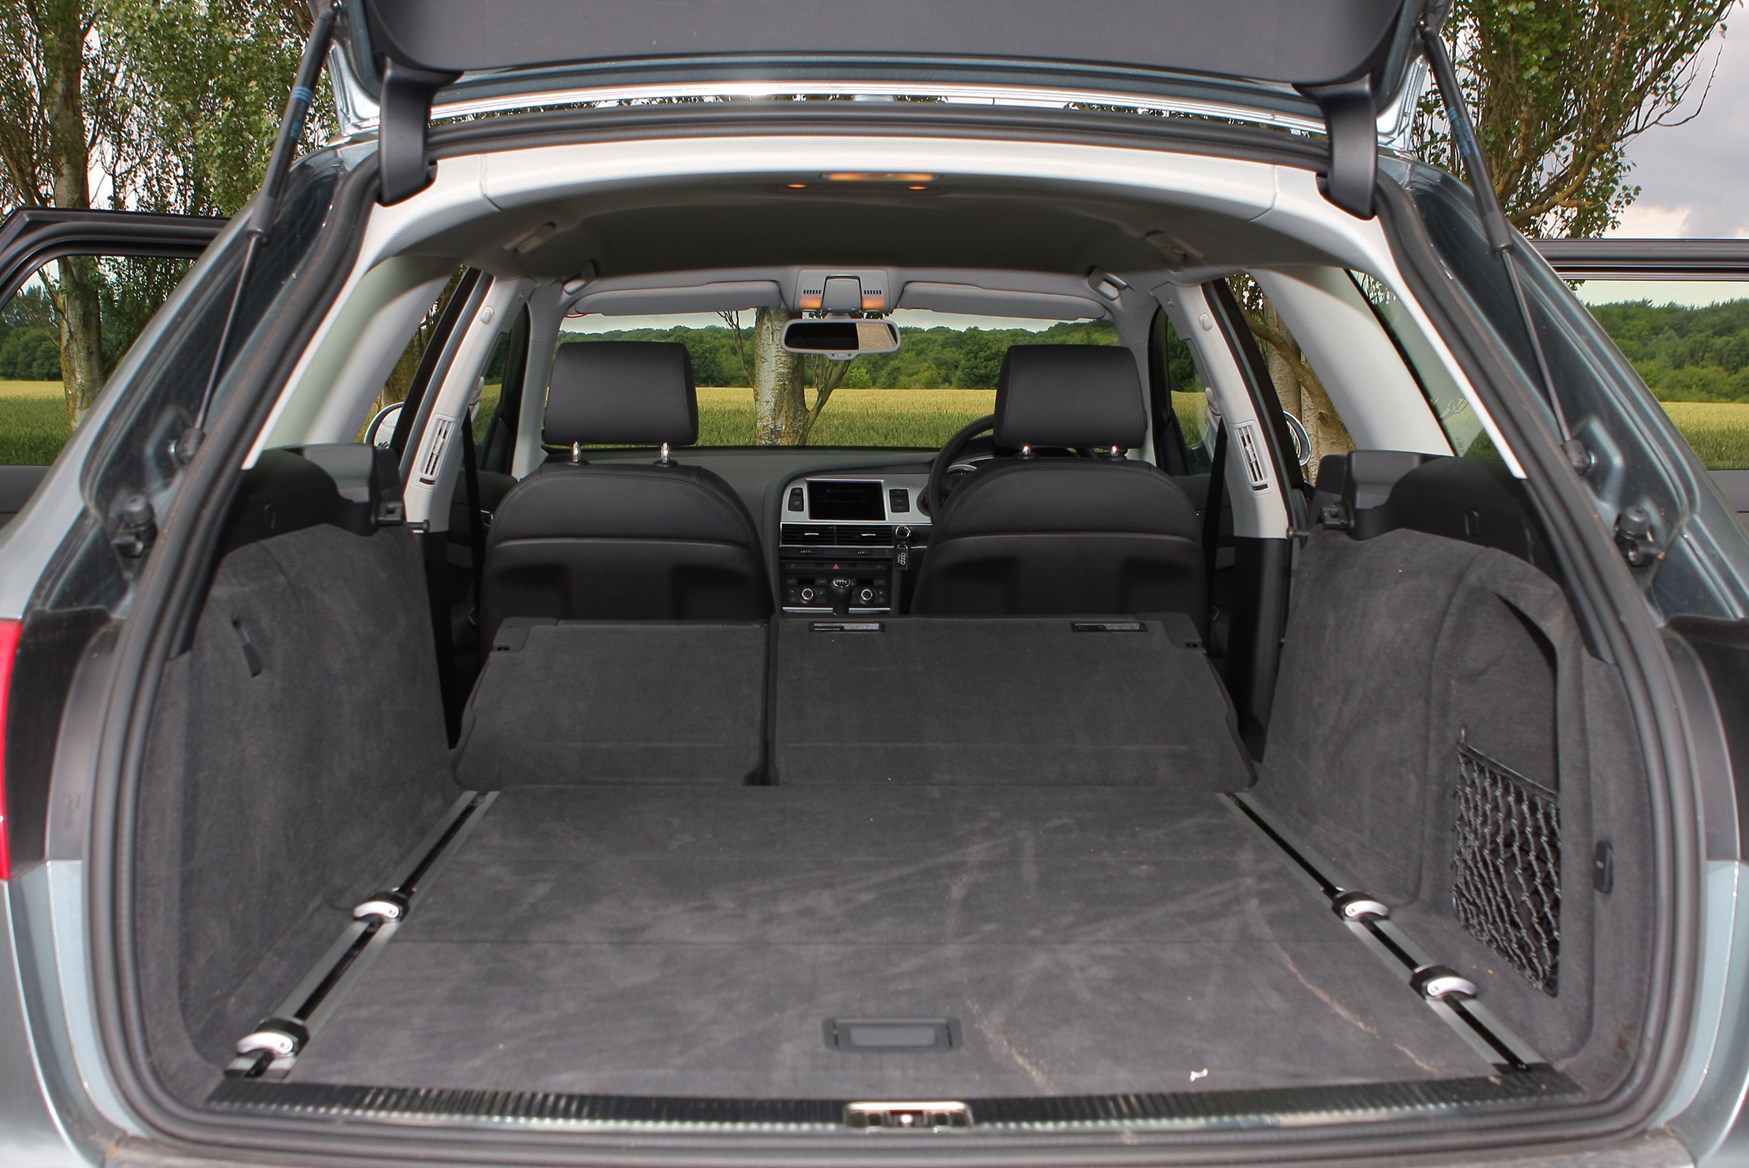
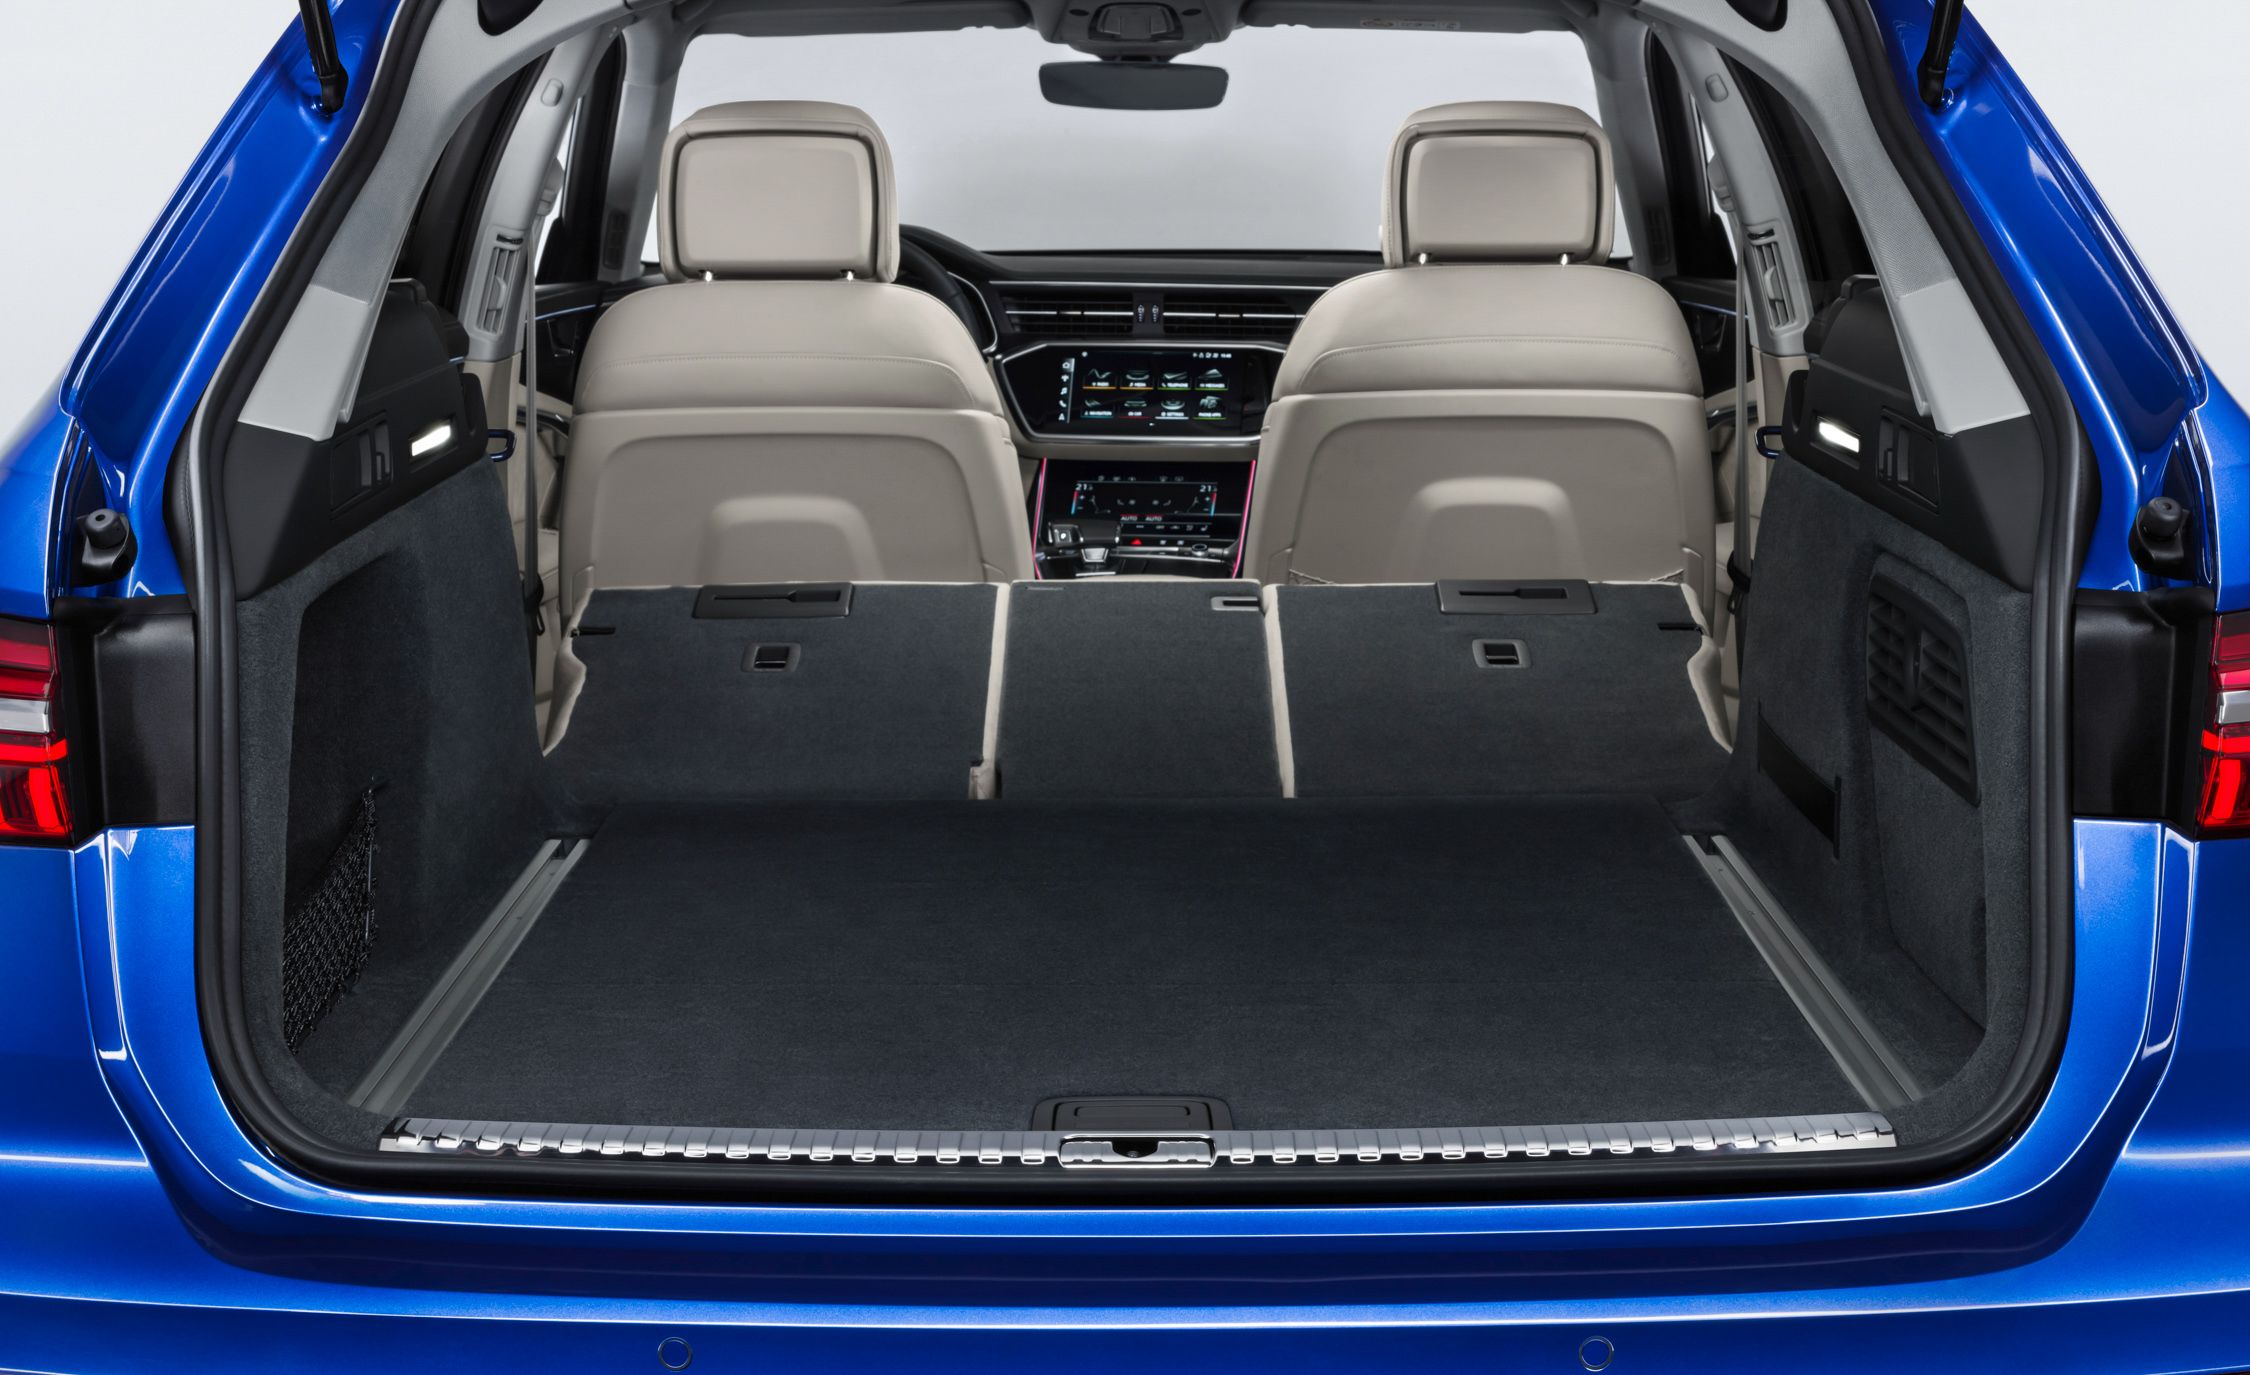
Understanding the Audi A6 4B Avant Trunk Trim
Before diving in, it’s crucial to understand the different components of the trunk trim. The trim typically consists of:
- Side Panels: These panels line the sides of the trunk, often containing compartments or access points.
- Floor Panel: The flat panel covering the trunk floor.
- Rear Hatch Trim: The trim panel attached to the inside of the rear hatch.
- Various Clips and Fasteners: These secure the trim panels to the vehicle’s body.
Identifying the specific trim pieces you need to replace is the first step. Examine your trunk and note any damage, such as cracks, tears, or missing fasteners. This will help you order the correct replacement parts.
Tools and Materials You’ll Need
Gathering the right tools and materials will make the replacement process smoother and more efficient. Here’s a checklist:
- Replacement Trunk Trim Panels: Order these specifically for your Audi A6 4B Avant (consider the year and trim level).
- Trim Removal Tools: A set of plastic pry tools is essential to avoid scratching your interior.
- Screwdrivers: Phillips head and potentially Torx head screwdrivers, depending on your vehicle’s fasteners.
- Socket Set: May be needed for removing certain bolts or screws.
- Work Gloves: To protect your hands.
- Optional: New Clips and Fasteners: Recommended as some original clips may break during removal.
- Optional: Shop Towels: To protect surfaces during the process.
Step-by-Step Guide to Replacing the Trunk Trim
This guide provides a general overview. Always consult your vehicle’s repair manual for specific instructions and diagrams relevant to your Audi A6 4B Avant.
1. Preparation:
- Empty the Trunk: Remove all items from the trunk to provide clear access to the trim panels.
- Protect Surfaces: Lay down shop towels or a protective sheet to prevent scratching.
2. Removing the Side Panels:
- Locate Fasteners: Identify the clips, screws, and bolts securing the side panels.
- Carefully Remove Fasteners: Use the appropriate screwdriver or socket to remove screws and bolts. Utilize the trim removal tools to carefully pry loose any clips, working slowly and gently to avoid breaking them.
- Release the Panel: Once all fasteners are removed, carefully detach the side panel from the vehicle.
- Disconnect any Wiring: If applicable, disconnect any wiring connected to the panel (e.g., for lights or speakers).
3. Removing the Floor Panel:
- Locate Fasteners: The floor panel is often held in place by clips or Velcro.
- Carefully Remove: Gently lift the floor panel. If clipped in, use trim removal tools to carefully pry up the clips.
4. Removing the Rear Hatch Trim:
- Locate Fasteners: This panel is typically secured by clips and potentially screws.
- Carefully Remove: Use trim removal tools to carefully pry the panel away from the rear hatch.
- Disconnect Wiring: Disconnect any wiring for lights or other features attached to the hatch trim.
5. Installing the New Trim:
- Align the Panels: Position the new trim panels in their respective locations.
- Secure the Fasteners: Reattach the clips, screws, and bolts, ensuring they are securely fastened.
- Reconnect Wiring: If applicable, reconnect any wiring you disconnected.
- Reinstall the Floor Panel: Place the floor panel back in position, ensuring it’s properly seated.
6. Final Checks and Finishing Up:
- Inspect the Installation: Ensure all trim panels are securely fastened and aligned correctly.
- Test All Functions: Verify that any lights or features connected to the trim are functioning correctly.
- Clean the Trunk: Wipe down the newly installed trim and the trunk area.
Troubleshooting Common Issues
- Broken Clips: Have extra clips on hand, as they are prone to breaking during removal.
- Stuck Panels: If a panel feels stuck, check for hidden fasteners or adhesive. Don’t force it!
- Misaligned Panels: Ensure all fasteners are properly aligned before tightening them.
Conclusion
Replacing the trunk trim in your Audi A6 4B Avant is a manageable DIY project that can significantly improve the appearance and functionality of your vehicle’s cargo area. By following these steps, you can refresh your trunk and enjoy the benefits of a well-maintained interior. Remember to take your time, be patient, and consult your vehicle’s repair manual for specific instructions.
Frequently Asked Questions (FAQs)
1. Where can I buy replacement trunk trim for my Audi A6 4B Avant?
You can purchase replacement trunk trim from various sources, including:
- Audi Dealerships: Offer genuine OEM parts.
- Online Retailers: Websites like eBay, Amazon, and specialized auto parts stores.
- Local Auto Parts Stores: Some stores may carry aftermarket or OEM parts.
2. How much does it cost to replace the trunk trim?
The cost varies depending on the parts needed and where you purchase them. Expect to pay anywhere from $50 to $300+ for the necessary trim pieces, depending on the extent of the replacement and the quality of the parts.
3. How long does it take to replace the trunk trim?
The time required varies depending on your experience and the complexity of the trim. This project typically takes 2-4 hours for a complete replacement.
4. Do I need any special tools for this project?
While the basic tools are listed above, a trim removal tool set is highly recommended. These tools are specifically designed to prevent damage to your vehicle’s interior trim.
