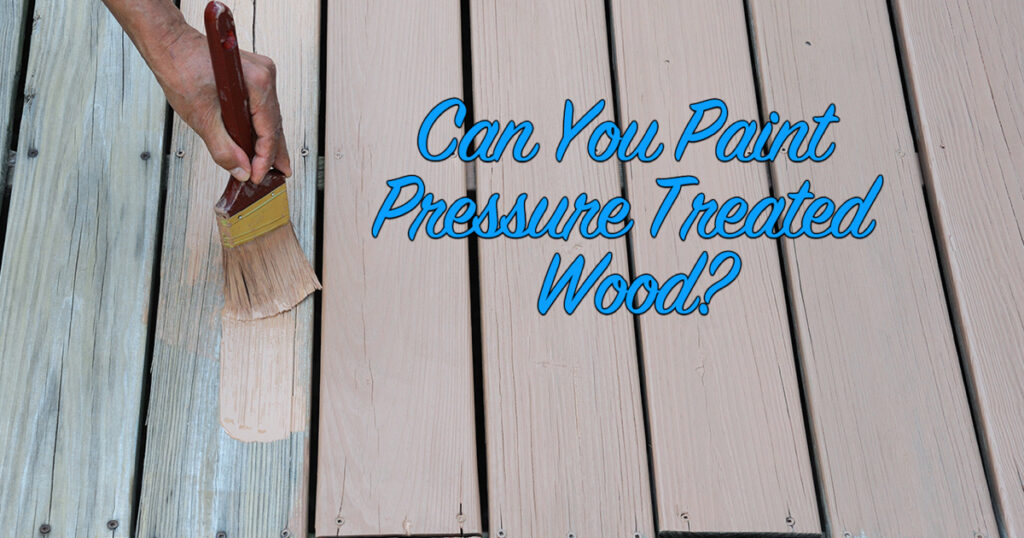


Can You Really Paint Pressure Treated Wood? The Surprising Answer
Pressure-treated wood is a homeowner’s best friend. It’s durable, resistant to rot, and a perfect choice for decks, fences, and other outdoor projects. But what happens when you want to add a splash of color or protect it further? The question then arises: Can you really paint pressure-treated wood? The answer, as it often is in the world of DIY, is a little more complex than a simple “yes” or “no.” This article delves into the intricacies of painting pressure-treated wood, providing you with the information you need to achieve a successful and long-lasting finish.
Understanding Pressure-Treated Wood
Before we dive into painting, let’s clarify what pressure-treated wood actually is. This wood undergoes a process where preservatives are forced deep into the wood fibers under high pressure. This protects the wood from:
- Rot: Fungal decay is a major threat to untreated wood.
- Termites and other insects: Pressure treatment makes the wood less appealing to wood-boring pests.
- Weathering: While pressure treatment doesn’t completely eliminate weathering, it significantly extends the wood’s lifespan.
The type of preservative used and the level of treatment will vary depending on the intended use of the wood. This is crucial to keep in mind when planning to paint.
The Challenges of Painting Pressure-Treated Wood
The very properties that make pressure-treated wood so durable also present challenges for painting. The preservatives, often containing moisture and chemicals, can interfere with paint adhesion. Here are some key issues:
- Moisture Content: Pressure-treated wood is typically saturated with moisture when it’s fresh. Painting over wet wood traps this moisture, leading to peeling, blistering, and paint failure.
- Chemical Interactions: The chemicals in the wood can react with the paint, affecting its color, adhesion, and longevity.
- Surface Imperfections: The rough surface of pressure-treated wood can make it difficult for paint to create a smooth and even finish.
- Preservative Bleed-Through: Some preservatives can “bleed” through the paint, creating unsightly stains and compromising the paint’s integrity.
Preparing Pressure-Treated Wood for Painting: The Key to Success
The most crucial step for successfully painting pressure-treated wood is proper preparation. This involves several key stages:
- Allow for Drying: This is the most important step. Allow the wood to dry thoroughly. The amount of drying time depends on the wood’s thickness, the climate, and the level of treatment. A general rule of thumb is to wait at least 6-12 months for new pressure-treated wood to fully dry before painting. Use a moisture meter to confirm the wood’s moisture content is below 15% before painting.
- Cleaning: Thoroughly clean the wood surface to remove any dirt, grime, mildew, and mill glaze (a slippery coating left from the manufacturing process). Use a wood cleaner specifically designed for outdoor surfaces and follow the manufacturer’s instructions.
- Sanding: Lightly sand the wood surface to create a better surface for paint adhesion. This also helps to remove any splinters or imperfections.
- Priming: Applying a high-quality exterior primer specifically designed for wood is essential. Primer helps to:
- Seal the wood.
- Provide a base for the topcoat.
- Prevent preservative bleed-through.
- Enhance paint adhesion.
Choosing the Right Paint for Pressure-Treated Wood
The type of paint you choose is also critical for achieving a durable and attractive finish. Consider the following:
- Exterior Paint: Always use exterior-grade paint that is specifically formulated for outdoor use.
- Acrylic Latex Paint: Acrylic latex paints are a popular choice due to their flexibility, durability, and resistance to fading. They also breathe, allowing moisture to escape.
- Oil-Based Paint: While oil-based paints offer excellent durability and coverage, they are less flexible than latex paints and can be prone to cracking over time. They also have a longer drying time.
- Consider the Sheen: The sheen level (e.g., flat, satin, semi-gloss) will affect the appearance and durability of the paint. Choose a sheen appropriate for the project and your desired aesthetic.
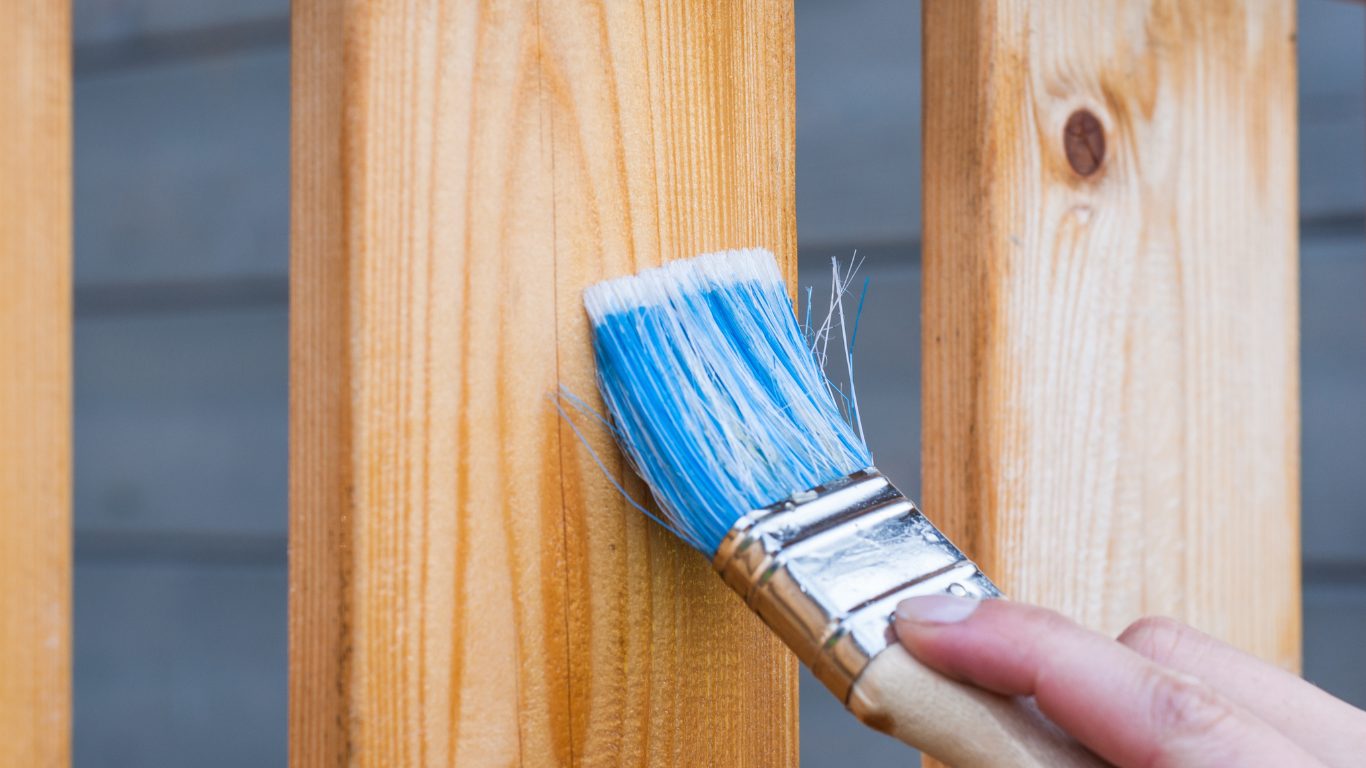
The Painting Process
Once the wood is properly prepared and you’ve chosen the right paint, the painting process is relatively straightforward:
- Apply Primer: Apply a coat of exterior primer, following the manufacturer’s instructions. Allow it to dry completely.
- Apply First Coat of Paint: Apply the first coat of exterior paint, ensuring even coverage.
- Allow to Dry: Allow the first coat to dry completely, according to the paint manufacturer’s instructions.
- Apply Second Coat (Optional): Apply a second coat of paint for enhanced durability and color richness.
Maintaining Your Painted Pressure-Treated Wood
Proper maintenance will extend the life of your painted surface:
- Regular Cleaning: Wash the painted surface with mild soap and water to remove dirt and debris.
- Inspect for Damage: Regularly inspect the paint for any signs of peeling, cracking, or blistering.
- Touch-ups: Address any minor damage promptly with touch-up paint.
- Repainting: Depending on the paint and environmental conditions, you may need to repaint every 5-7 years, or sooner if necessary.
Conclusion: Painting Pressure-Treated Wood - A Realistic Approach
So, can you paint pressure-treated wood? The answer is a resounding yes, but with caveats. By understanding the challenges, properly preparing the wood, choosing the right materials, and following the correct painting process, you can achieve a beautiful and long-lasting finish. Remember that patience is key, especially when it comes to allowing the wood to dry. With the right approach, you can transform your pressure-treated wood projects into stunning and protected features of your home.
Frequently Asked Questions (FAQs)
1. How long should I wait before painting new pressure-treated wood?
Ideally, wait at least 6-12 months to allow the wood to fully dry. However, this can vary depending on the climate and the thickness of the wood. Always check the moisture content with a moisture meter before painting.
2. Do I need to prime pressure-treated wood before painting?
Yes, priming is essential. Use a high-quality exterior primer specifically designed for wood. It helps with adhesion, seals the wood, and prevents preservative bleed-through.
3. What type of paint is best for pressure-treated wood?
Acrylic latex exterior paint is a popular and effective choice due to its flexibility, durability, and breathability. Oil-based paints can also be used, but require more careful application and may be prone to cracking over time.
4. What is the best way to clean pressure-treated wood before painting?
Use a wood cleaner specifically designed for outdoor surfaces. Follow the manufacturer’s instructions carefully. Ensure all dirt, mildew, and mill glaze are removed.
5. Can I paint pressure-treated wood that has already been painted?
Yes, but you’ll need to assess the existing paint. Clean the surface thoroughly, sand lightly to improve adhesion, and apply a new coat of exterior-grade paint. If the existing paint is peeling or damaged, you may need to strip it completely before repainting.
