
Everything You Need to Know About How to Use StarCraft Printable Vinyl
StarCraft, the iconic real-time strategy game, has transcended its digital realm to inspire countless creative projects. One popular avenue is using StarCraft-themed printable vinyl to personalize everything from laptops and water bottles to car decals and gaming accessories. But successfully applying printable vinyl requires the right knowledge and technique. This comprehensive guide will walk you through everything you need to know to achieve professional-looking results with your StarCraft printable vinyl.
Choosing the Right Vinyl
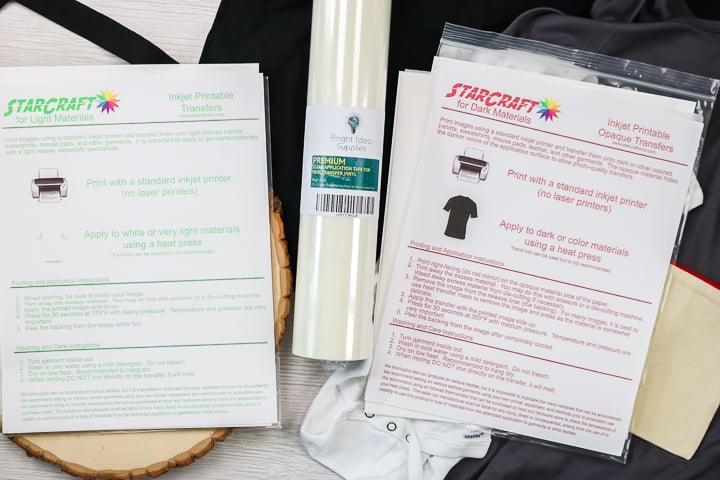
The first step to a successful project is selecting the appropriate vinyl. Not all printable vinyl is created equal. Consider these factors:
- Material: Look for high-quality printable vinyl designed for your specific application. Permanent vinyl is ideal for hard surfaces like laptops and cars, while removable vinyl works better for temporary decorations or surfaces you might want to change later.
- Thickness: Thicker vinyl is generally more durable and less prone to wrinkles, but it might be more challenging to work with. Thinner vinyl is easier to handle but may be less resilient.
- Finish: Glossy vinyl offers vibrant colors and a sleek look, while matte vinyl provides a more subdued, less reflective finish. Choose the finish that best complements your StarCraft design.
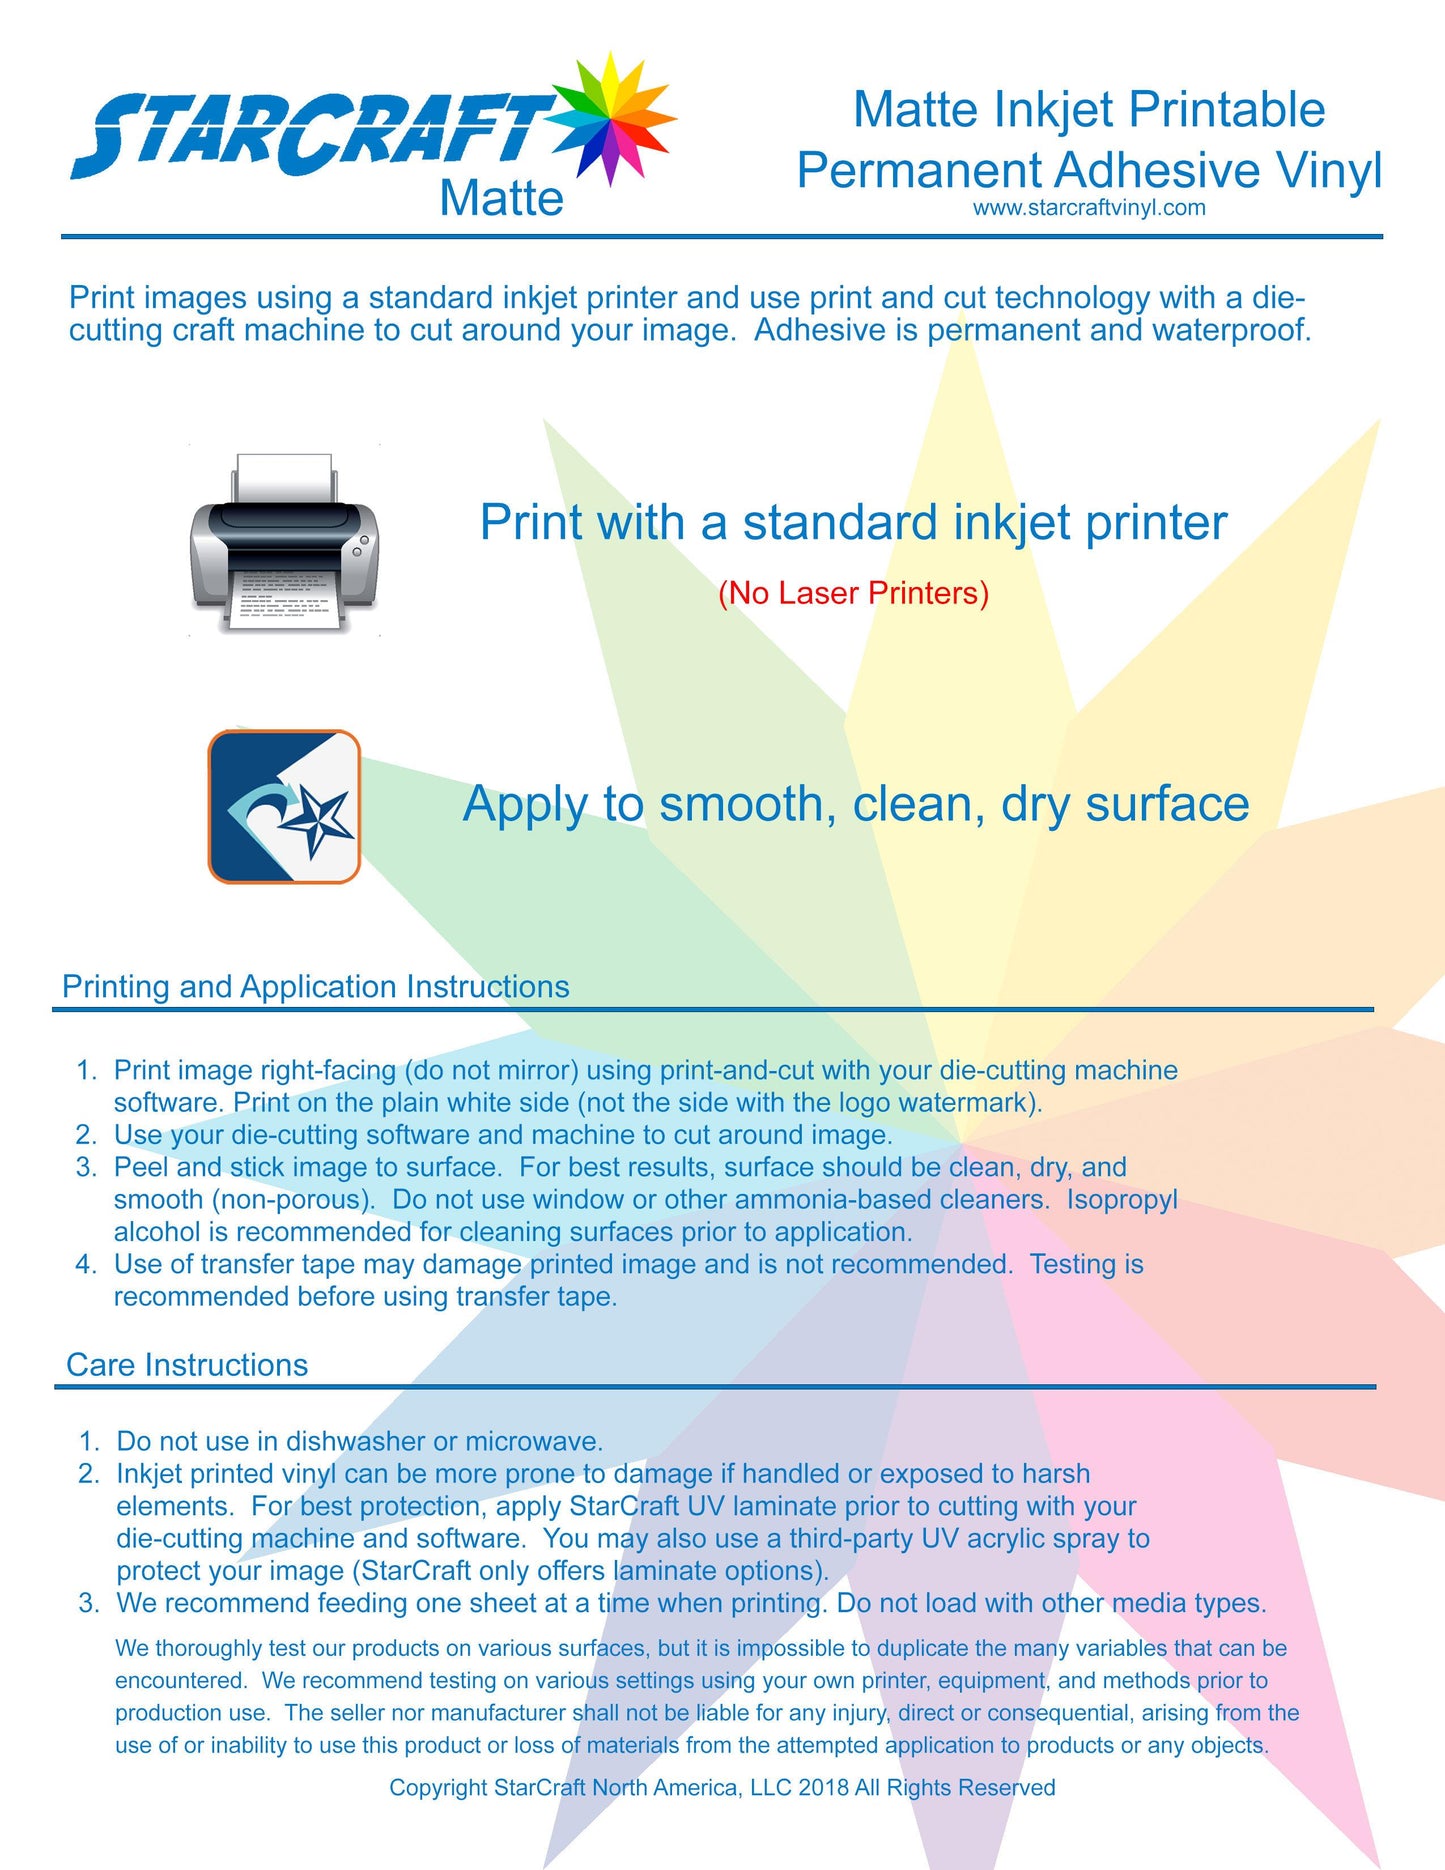
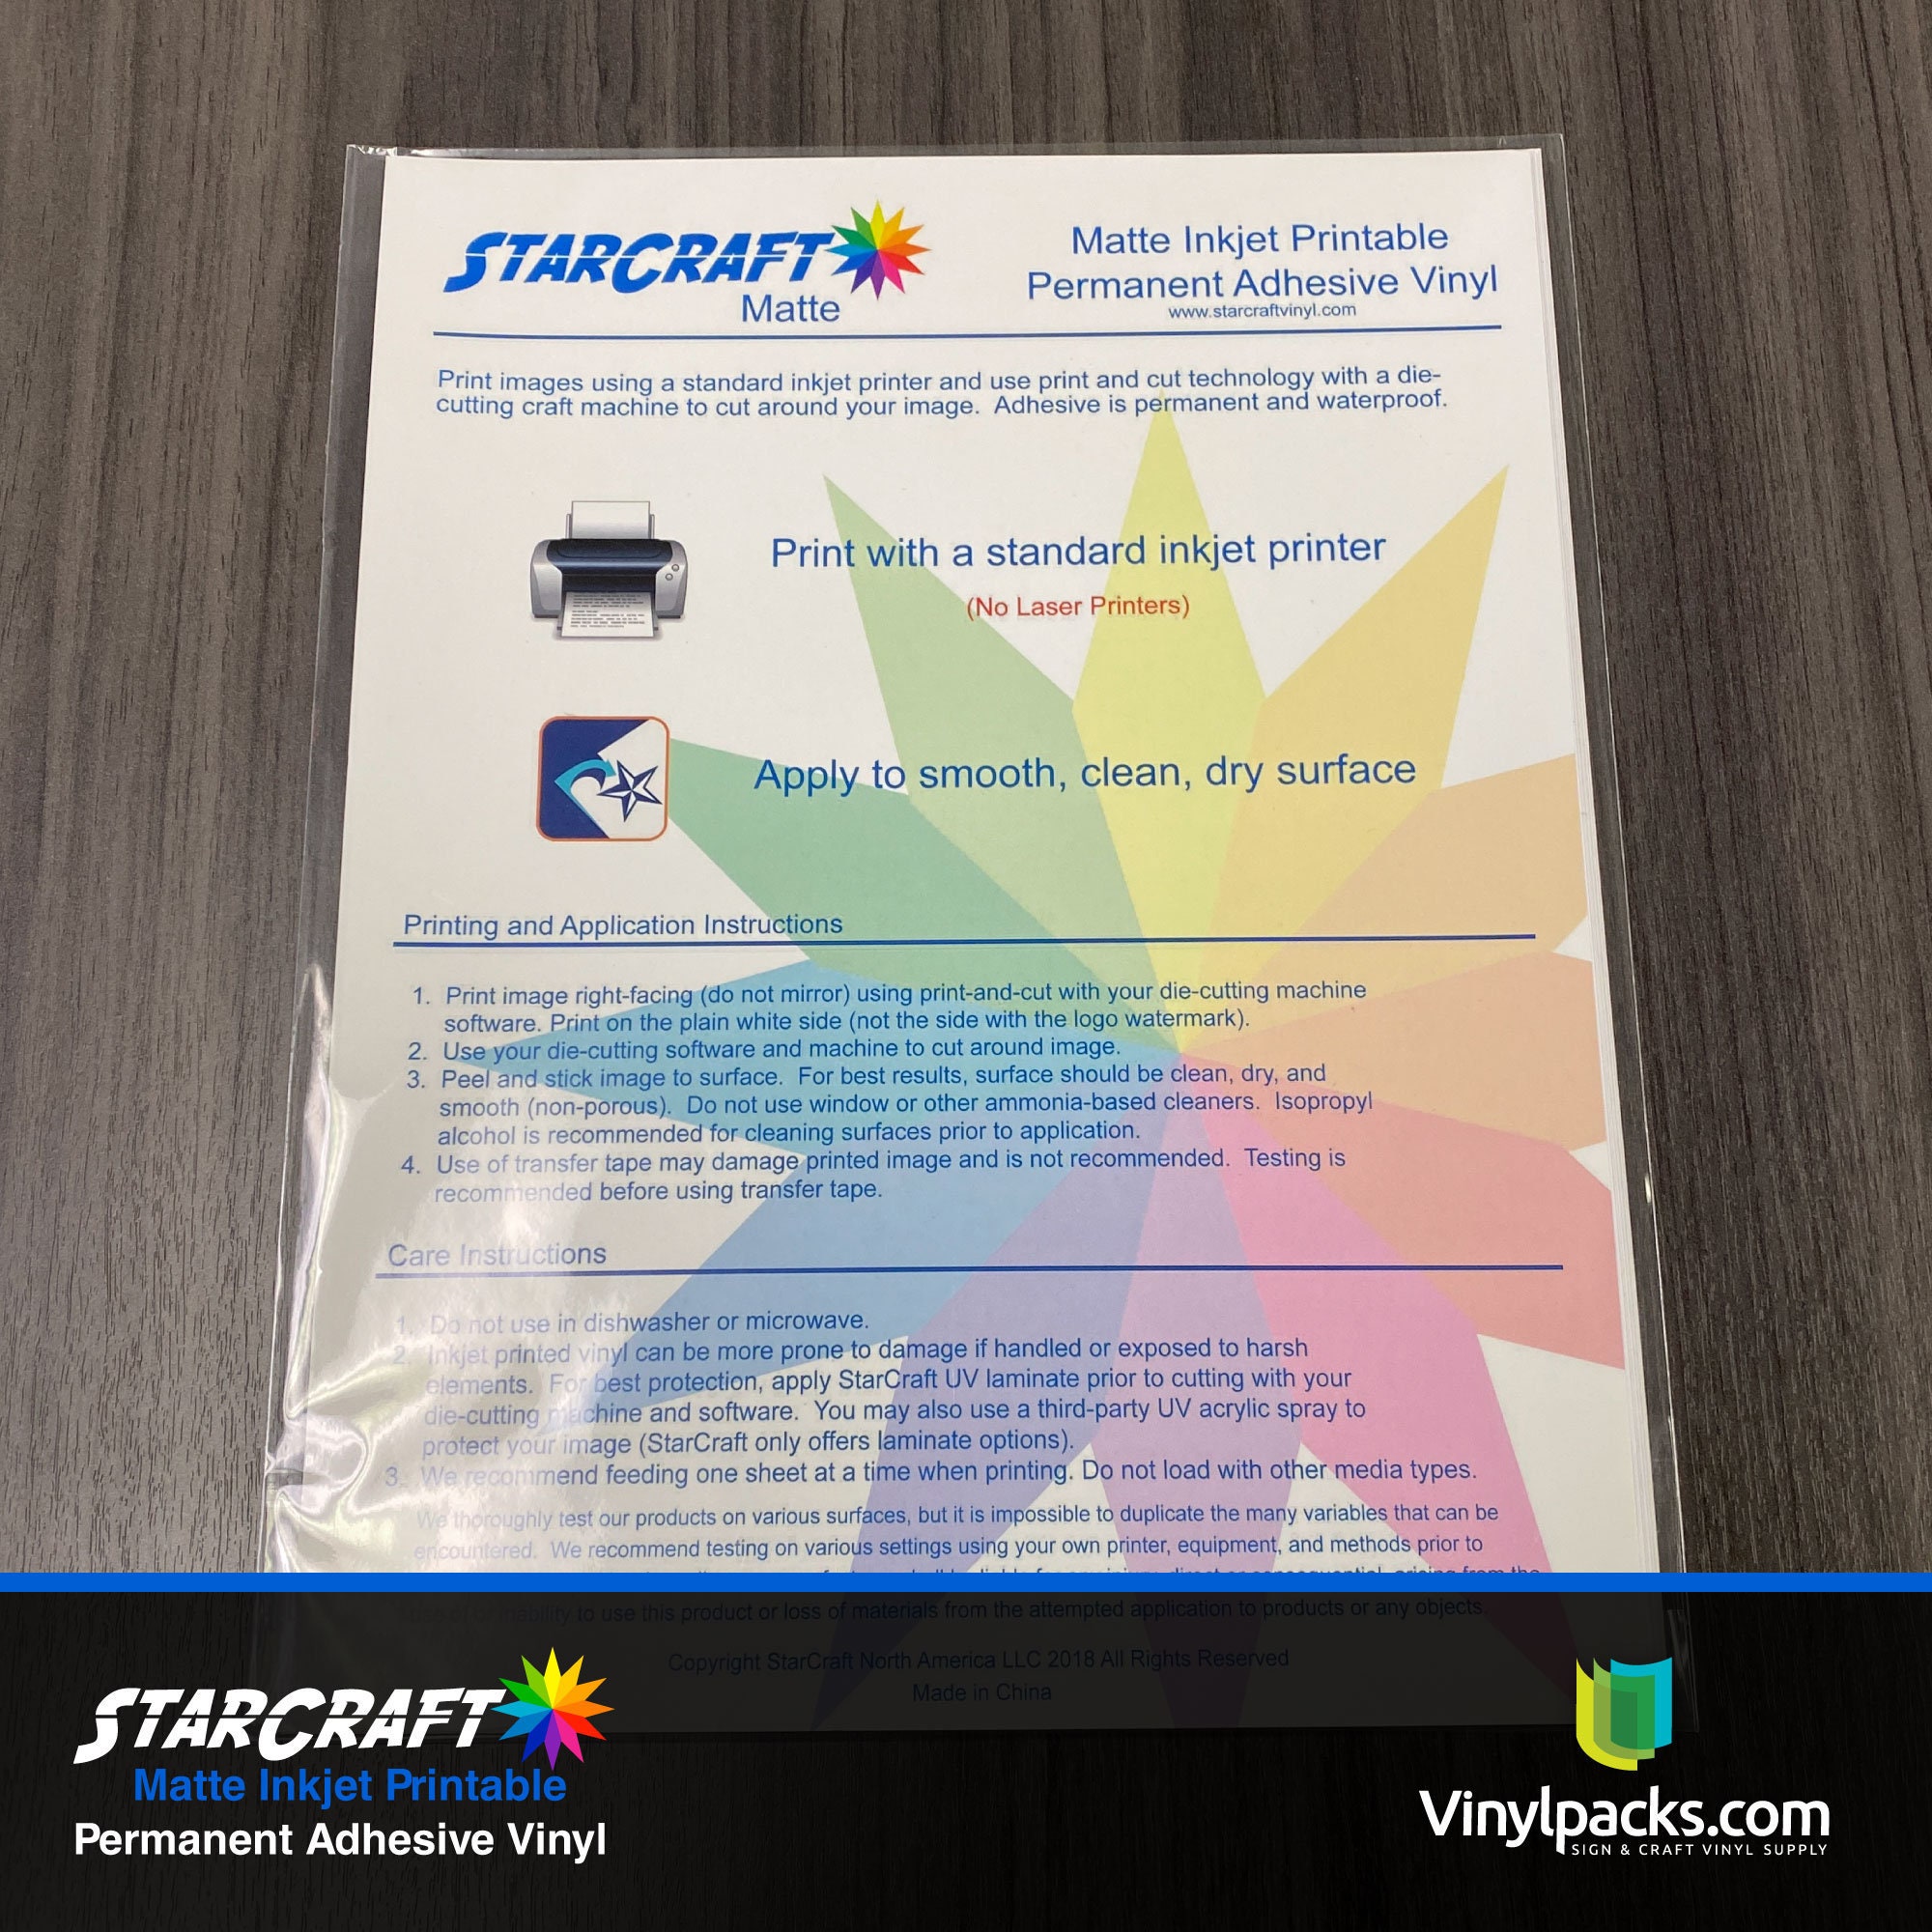
- Printer Compatibility: Ensure the vinyl is compatible with your printer (inkjet or laser). Check the manufacturer’s specifications to avoid compatibility issues.
Preparing Your Design and Printing
Before you even think about applying the vinyl, your design needs to be perfect.
Designing Your StarCraft Decal:
- High Resolution: Use high-resolution images (300 DPI or higher) for crisp, clear prints. Low-resolution images will look pixelated and blurry on the vinyl.
- Mirror Image: Remember to mirror your design before printing if you’re using a printable vinyl that’s applied with the printed side facing down. Most vinyl designs require this “mirror image” for proper application.
- File Format: Save your design in a format compatible with your printer, such as PDF or JPEG.
- Color Profile: Use a consistent color profile throughout the design and printing process to ensure accurate color reproduction.
Printing Your StarCraft Design:
- Test Print: Always do a test print on plain paper before printing on the vinyl to check for color accuracy and any potential issues with your design.
- Print Settings: Use the recommended print settings for your specific vinyl type and printer. This information is typically found in the vinyl’s instructions.
- Slow and Steady: Print at a slower speed for better ink adhesion and to avoid smudging.
Applying the StarCraft Vinyl
This is where precision matters. Follow these steps for a clean application:
- Clean the Surface: Thoroughly clean and dry the surface where you’ll be applying the vinyl. Dust, dirt, and oil can prevent proper adhesion.
- Weed the Vinyl: Carefully remove the excess vinyl around your design using weeding tools. This step requires patience and a steady hand.
- Apply Transfer Tape: Apply transfer tape over the weeded design, ensuring it adheres completely.
- Position the Vinyl: Carefully position the vinyl on the surface. Use a ruler or measuring tape for precise placement, especially on larger decals.
- Smooth the Vinyl: Use a squeegee or credit card to smooth out any air bubbles and ensure proper adhesion. Work from the center outward to avoid trapping air.
- Remove Transfer Tape: Slowly peel away the transfer tape, ensuring the vinyl stays in place.
Troubleshooting Common Issues
- Air Bubbles: Gently pierce small air bubbles with a pin and smooth them out with a squeegee.
- Wrinkles: Carefully lift the affected area and reapply, smoothing out any wrinkles as you go.
- Uneven Adhesion: Make sure the surface is clean and dry. Apply more pressure with the squeegee if necessary.
Conclusion
Applying StarCraft-themed printable vinyl can be a rewarding experience, allowing you to personalize your belongings and showcase your fandom. By following these steps and paying attention to detail, you can achieve professional-looking results that will last. Remember, practice makes perfect! Don’t be discouraged if your first attempt isn’t flawless.
Frequently Asked Questions (FAQs)
Q1: Can I use any type of printer for printable vinyl?
A1: No, you need to use a printer that is compatible with the specific type of printable vinyl you are using. Check the manufacturer’s specifications for compatibility.
Q2: How long does printable vinyl last?
A2: The lifespan of printable vinyl depends on several factors, including the quality of the vinyl, the environment, and the application method. High-quality vinyl can last for several years, even outdoors, but it’s important to follow the manufacturer’s recommendations for longevity.
Q3: Can I apply printable vinyl to curved surfaces?
A3: Yes, but it may be more challenging. Use a heat gun to gently warm the vinyl and help it conform to the curve. Apply the vinyl slowly and carefully.
Q4: What happens if I get air bubbles under my vinyl?
A4: Small air bubbles can often be smoothed out with a squeegee. Larger bubbles may require lifting and reapplying the vinyl.
Q5: Where can I buy StarCraft-themed printable vinyl?
A5: You can often find printable vinyl online through various retailers, or design your own using image editing software and printing services. Many online marketplaces offer custom-printed vinyl options.
