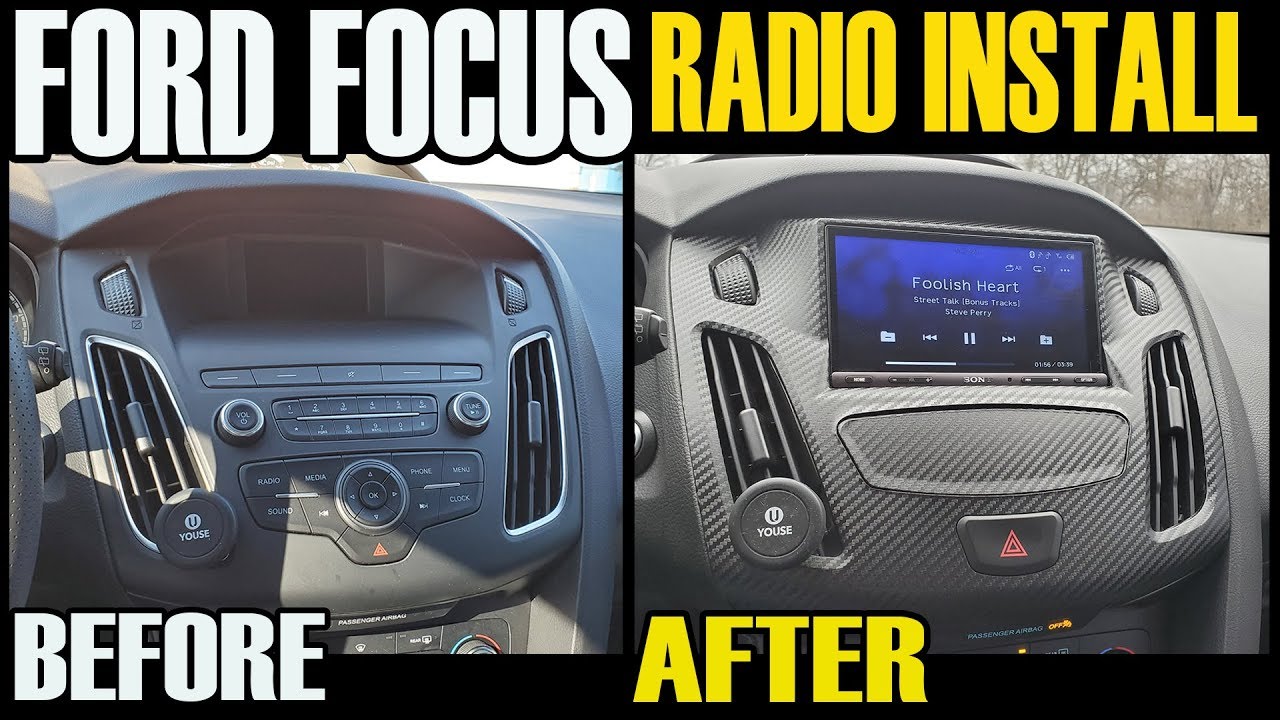

Upgrade Your Ride: How to Install a Radio and Navigation System in a Ford Focus MK2
Is your Ford Focus MK2’s factory radio sounding a bit… tired? Are you craving the convenience of modern navigation, Bluetooth connectivity, and a crisp, clear sound? You’re in the right place! This comprehensive guide will walk you through the process of installing a new radio and navigation system in your Ford Focus MK2, transforming your driving experience. We’ll cover everything from choosing the right components to the final installation, ensuring you can confidently tackle this project.
This guide is designed for the DIY enthusiast, providing clear instructions and helpful tips. However, always prioritize safety and, if you’re uncomfortable with any step, consider consulting a professional installer. Let’s get started!
What You’ll Need: Gathering Your Supplies
Before you begin, it’s crucial to gather all the necessary components and tools. This will streamline the installation process and prevent frustrating delays. Here’s a checklist:
- New Radio/Navigation System: This is the centerpiece of your upgrade. Choose a unit that fits your budget, desired features (Bluetooth, Apple CarPlay/Android Auto, GPS, etc.), and the double-DIN or single-DIN size compatible with your Focus.
- Wiring Harness Adapter: This is a crucial component. It connects the aftermarket radio to your Ford Focus’s existing wiring, eliminating the need to cut or splice factory wires. Ensure you purchase a harness specifically designed for your Ford Focus MK2 and the type of connector on your new radio.
- Dash Kit (Fascia Kit): This kit fills the gap between the new radio and the dashboard opening, providing a clean and professional finish. It’s specifically molded to fit the contours of your Focus’s dashboard.
- Antenna Adapter (if needed): Some aftermarket radios require a specific antenna adapter to connect to the factory antenna. Check your radio’s specifications.
- Trim Removal Tools (Plastic Pry Tools): These tools are essential for safely removing the dashboard trim without scratching or damaging it.
- Screwdrivers: You’ll need a variety of screwdrivers (Phillips head and flathead) to remove the factory radio and related components.
- Wire Strippers/Crimpers (Optional but Recommended): These tools are helpful if you need to make minor adjustments to the wiring harness or connect any additional accessories.
- Electrical Tape: For securing wiring connections.
- Gloves (Optional): To keep your hands clean.
- Owner’s Manual for Your Ford Focus MK2: This can be helpful for identifying trim removal points and other vehicle-specific details.
Step-by-Step Installation Guide
Now, let’s get down to the installation. Follow these steps carefully:
1. Disconnecting the Battery
Safety First! Before you start, disconnect the negative terminal of your car’s battery. This will prevent any electrical shorts and potential damage to your vehicle or the new radio. Use a wrench to loosen the nut holding the cable to the battery terminal.
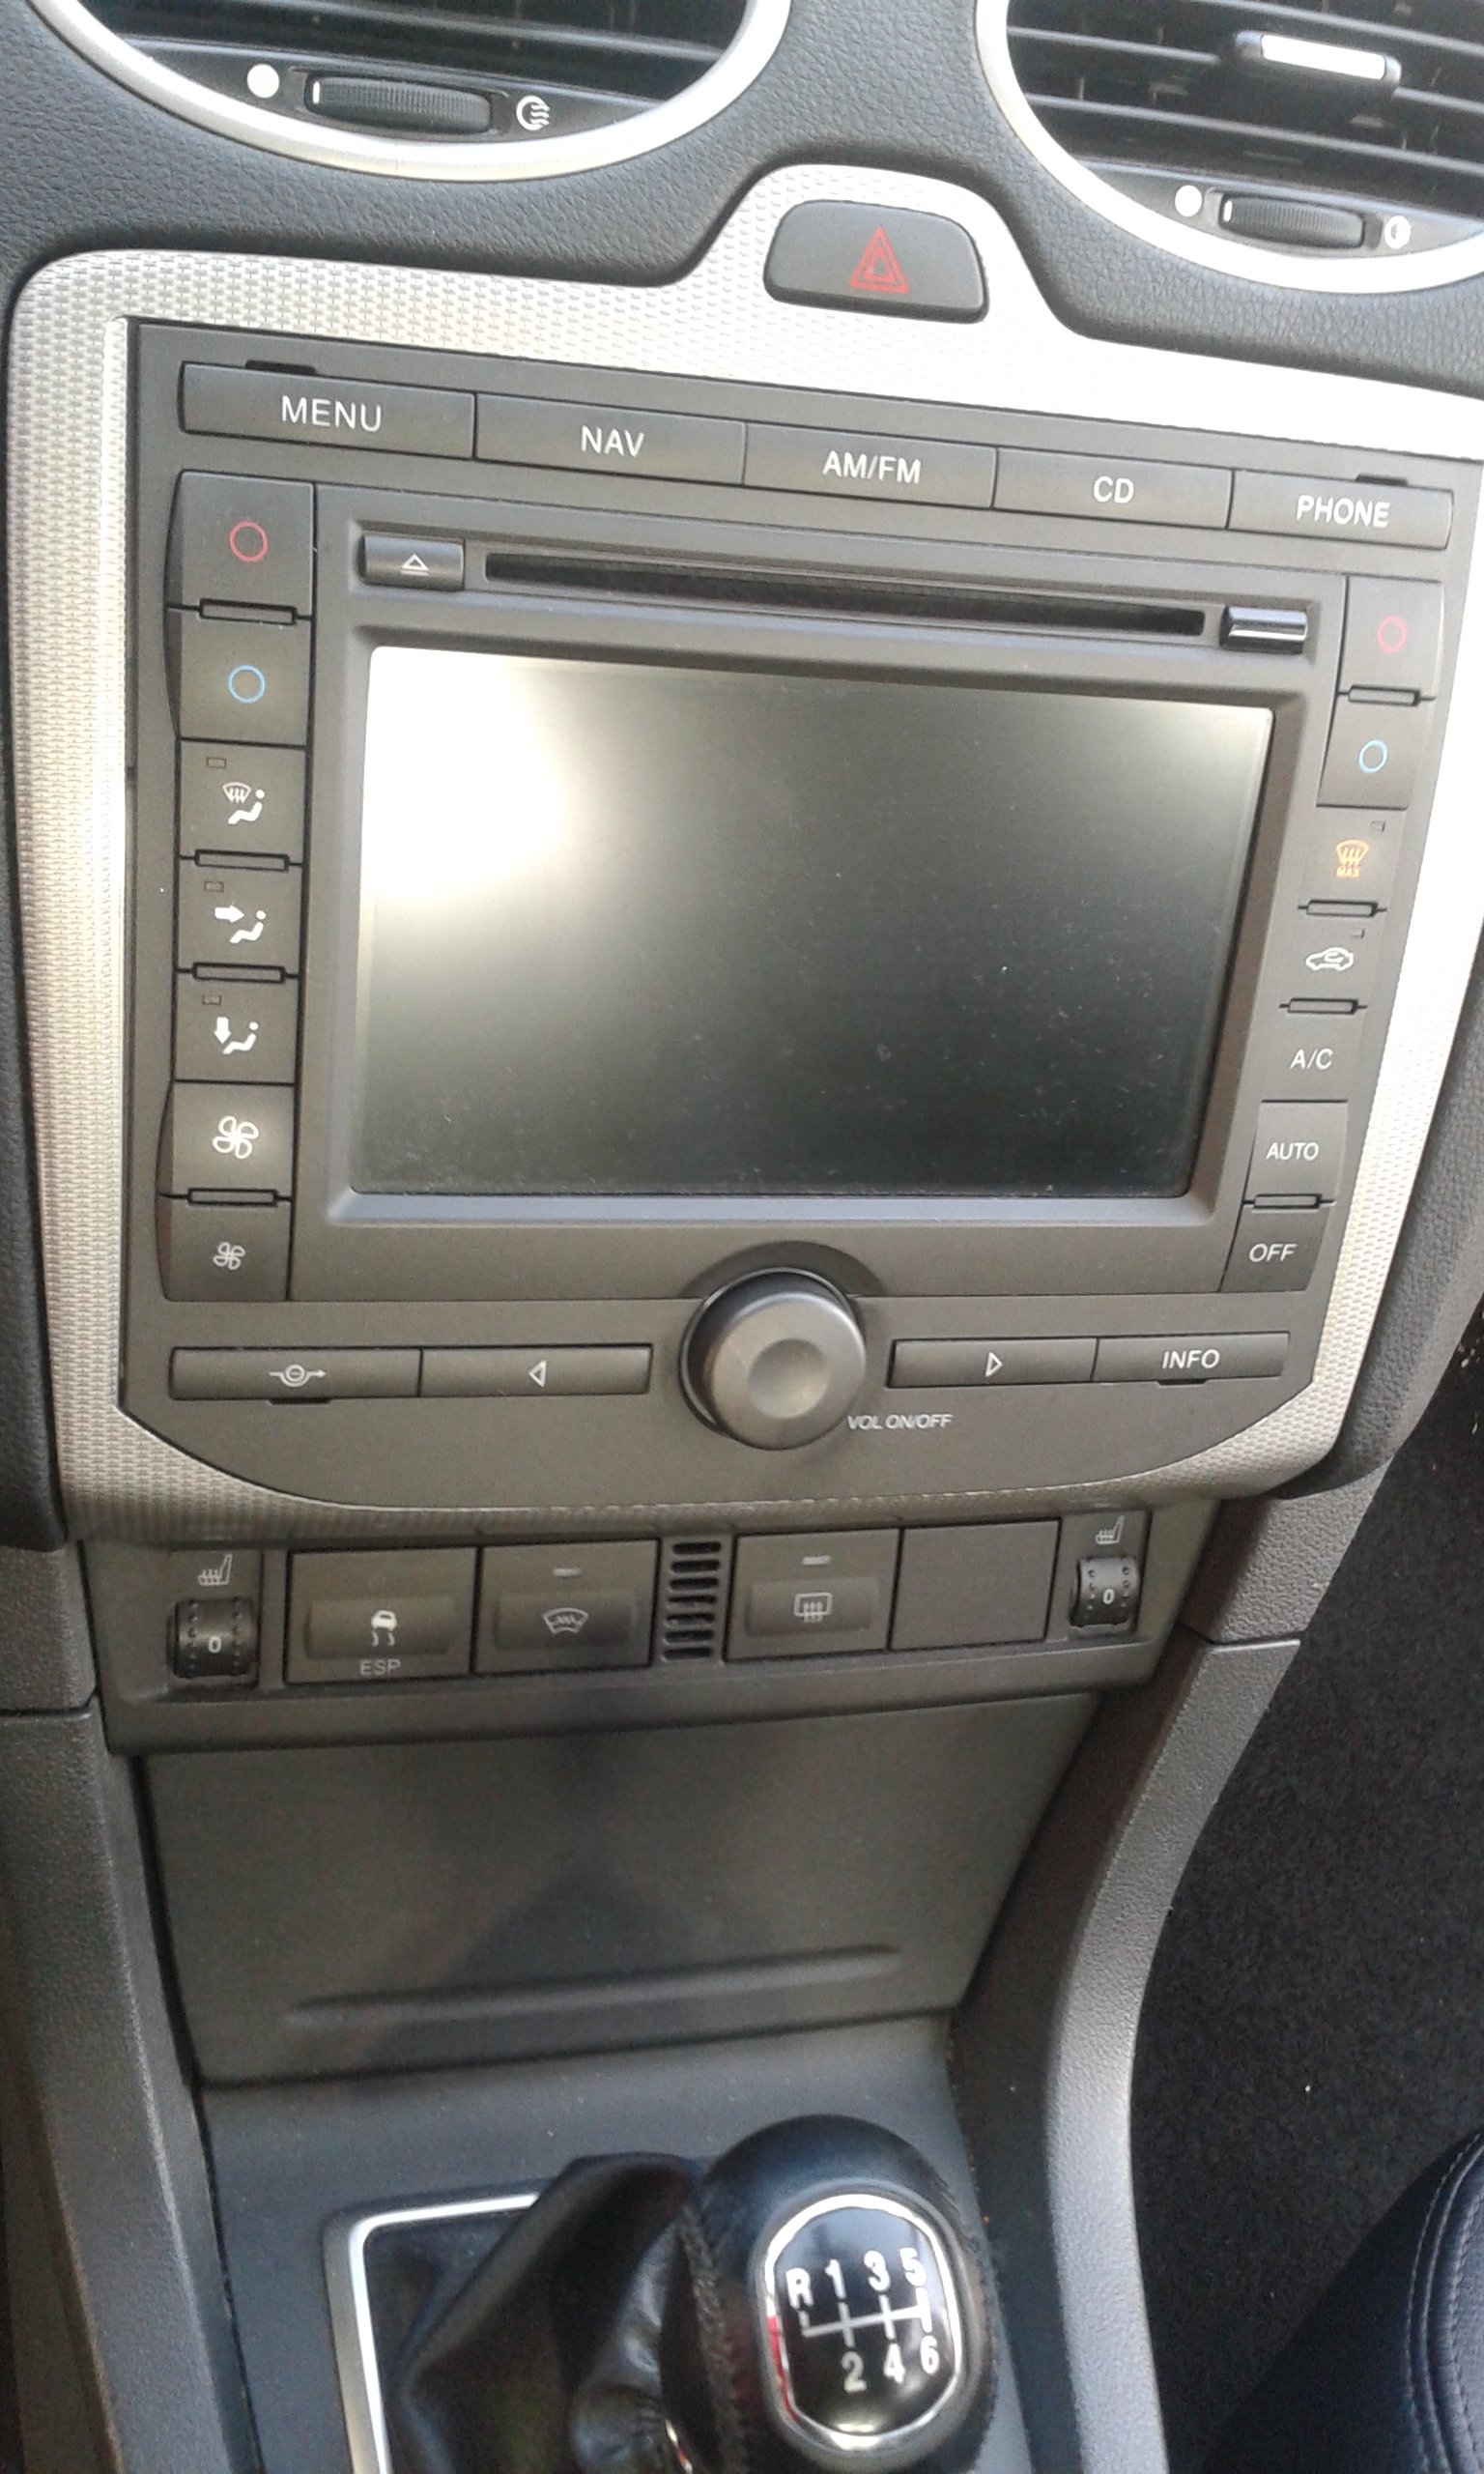
2. Removing the Factory Radio
- Locate the Trim: Identify the trim panel surrounding the factory radio. This typically includes the climate control knobs and possibly some vents.
- Remove the Trim: Using your plastic pry tools, carefully pry away the trim panel. Start at the bottom and work your way around, gently releasing the clips that hold it in place.
- Unscrew the Factory Radio: Once the trim is removed, you’ll likely find screws holding the factory radio in place. Remove these screws.
- Disconnect the Wiring: Carefully disconnect the wiring harness from the back of the factory radio. There may be one or more connectors.
- Remove the Radio: Gently pull the radio out of the dashboard.
3. Preparing the New Radio
- Connect the Wiring Harness Adapter: Connect the wiring harness adapter to the new radio’s wiring harness. Refer to the instructions provided with both the harness and the radio.
- Connect the Antenna Adapter (if needed): Connect the antenna adapter to the new radio’s antenna input.
- Test Fit: Before fully installing the radio, perform a test fit to ensure everything aligns correctly with the dash kit.
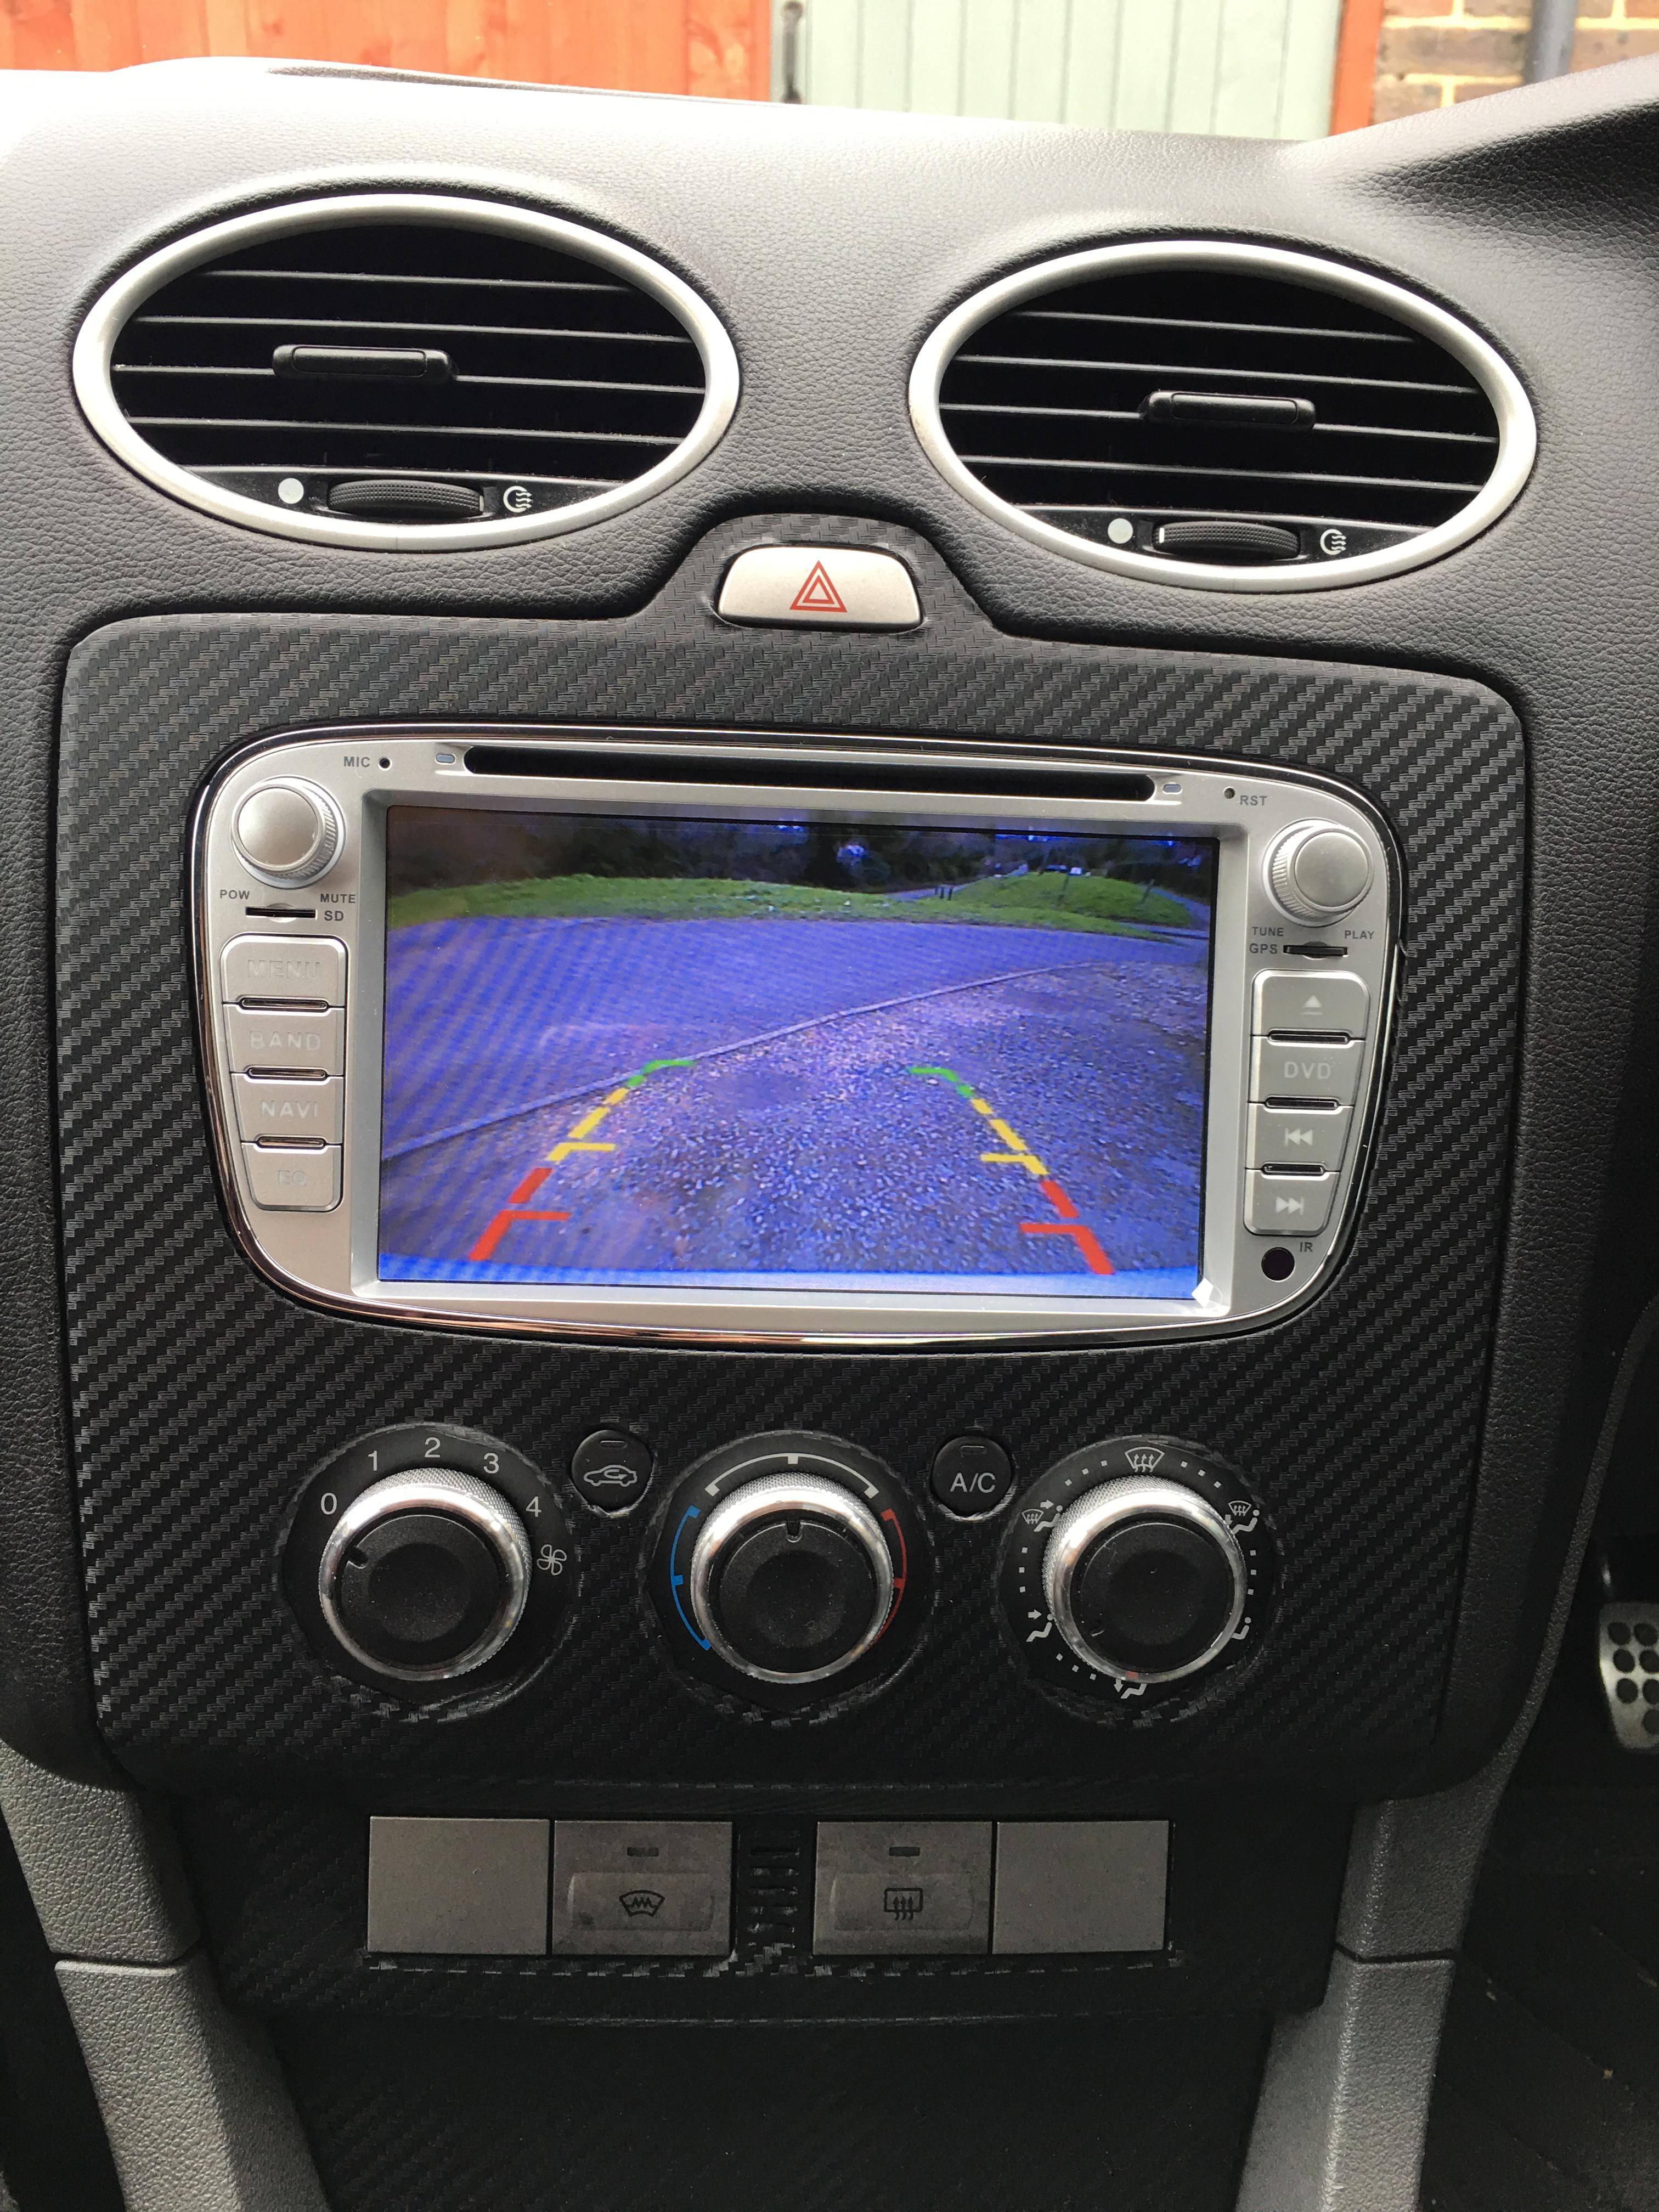
4. Installing the Dash Kit
- Install the Radio in the Dash Kit: Secure the new radio within the dash kit, following the instructions provided with the kit.
- Position the Dash Kit: Carefully position the dash kit with the radio in the dashboard opening.
5. Connecting the Wiring and Testing
- Connect the Wiring Harness: Plug the wiring harness adapter into the factory wiring harness connector.
- Connect the Antenna: Connect the antenna cable to the radio.
- Reconnect the Battery: Reconnect the negative terminal of the battery.
- Test the Radio: Turn on the ignition and test the new radio. Check for sound, navigation (if applicable), Bluetooth connectivity, and any other features. If something isn’t working, double-check all connections and consult the radio’s manual.
6. Final Installation and Trim
- Secure the Radio: Once everything is working, secure the radio and dash kit in place. You might need to reuse some of the factory screws or use screws provided with the kit.
- Reinstall the Trim: Carefully snap the trim panel back into place. Ensure all clips are securely engaged.
- Clean Up: Wipe down the dashboard and enjoy your upgraded audio system!
Troubleshooting Common Issues
- No Power: Double-check the wiring harness connections and the fuse for the radio. Also, ensure the battery is properly connected.
- No Sound: Verify that the speaker wires are correctly connected and that the volume is turned up.
- Bluetooth Not Connecting: Ensure Bluetooth is enabled on your phone and that the radio is in pairing mode. Consult the radio’s manual for specific instructions.
- Navigation Not Working (if applicable): Ensure the GPS antenna is properly connected and has a clear view of the sky. It may take a few minutes for the GPS to acquire a signal.
Frequently Asked Questions (FAQs)
1. Will I lose any factory features?
You may lose some factory features like steering wheel controls (unless you purchase an adapter specifically designed to retain them). However, the upgrade provides significant improvements in sound quality and functionality.
2. Is this difficult to do?
The difficulty level is moderate. With patience, the right tools, and careful attention to the instructions, most DIY enthusiasts can successfully complete this project.
3. Do I need to cut any wires?
Ideally, you should not need to cut any wires. The wiring harness adapter is designed to connect directly to the factory wiring. If you have to cut wires, proceed with caution and consult a professional if unsure.
4. What size radio fits in a Ford Focus MK2?
The Ford Focus MK2 typically uses a double-DIN radio. However, you can use a single-DIN radio with a dash kit that adapts the opening. Always measure your dashboard opening to confirm the size.
5. Where can I buy the necessary components?
You can purchase the components online from retailers like Amazon, Crutchfield, and eBay, or at your local car audio store.
Conclusion: Enjoy the Upgrade!
Congratulations! You’ve successfully upgraded your Ford Focus MK2’s radio and navigation system. By following these steps, you’ve enhanced your driving experience with modern features and improved audio quality. Enjoy the new sound and the convenience of integrated navigation on your journeys. Remember to drive safely and enjoy the road!
