


How to Move a Shed by Yourself: A Simple Guide
Thinking about relocating your trusty shed? Whether you’re changing your landscaping, need more space, or simply want to position your shed in a sunnier spot, moving it yourself can be a cost-effective solution. This guide provides a step-by-step approach to safely and effectively move your shed, covering everything from planning and preparation to execution. While this guide emphasizes DIY, remember to prioritize safety and assess your shed’s condition before you begin.
Planning and Preparation: The Foundation of a Successful Move
Before you even think about lifting a finger, meticulous planning is crucial. Proper preparation will significantly reduce the risk of damage to your shed and injury to yourself.
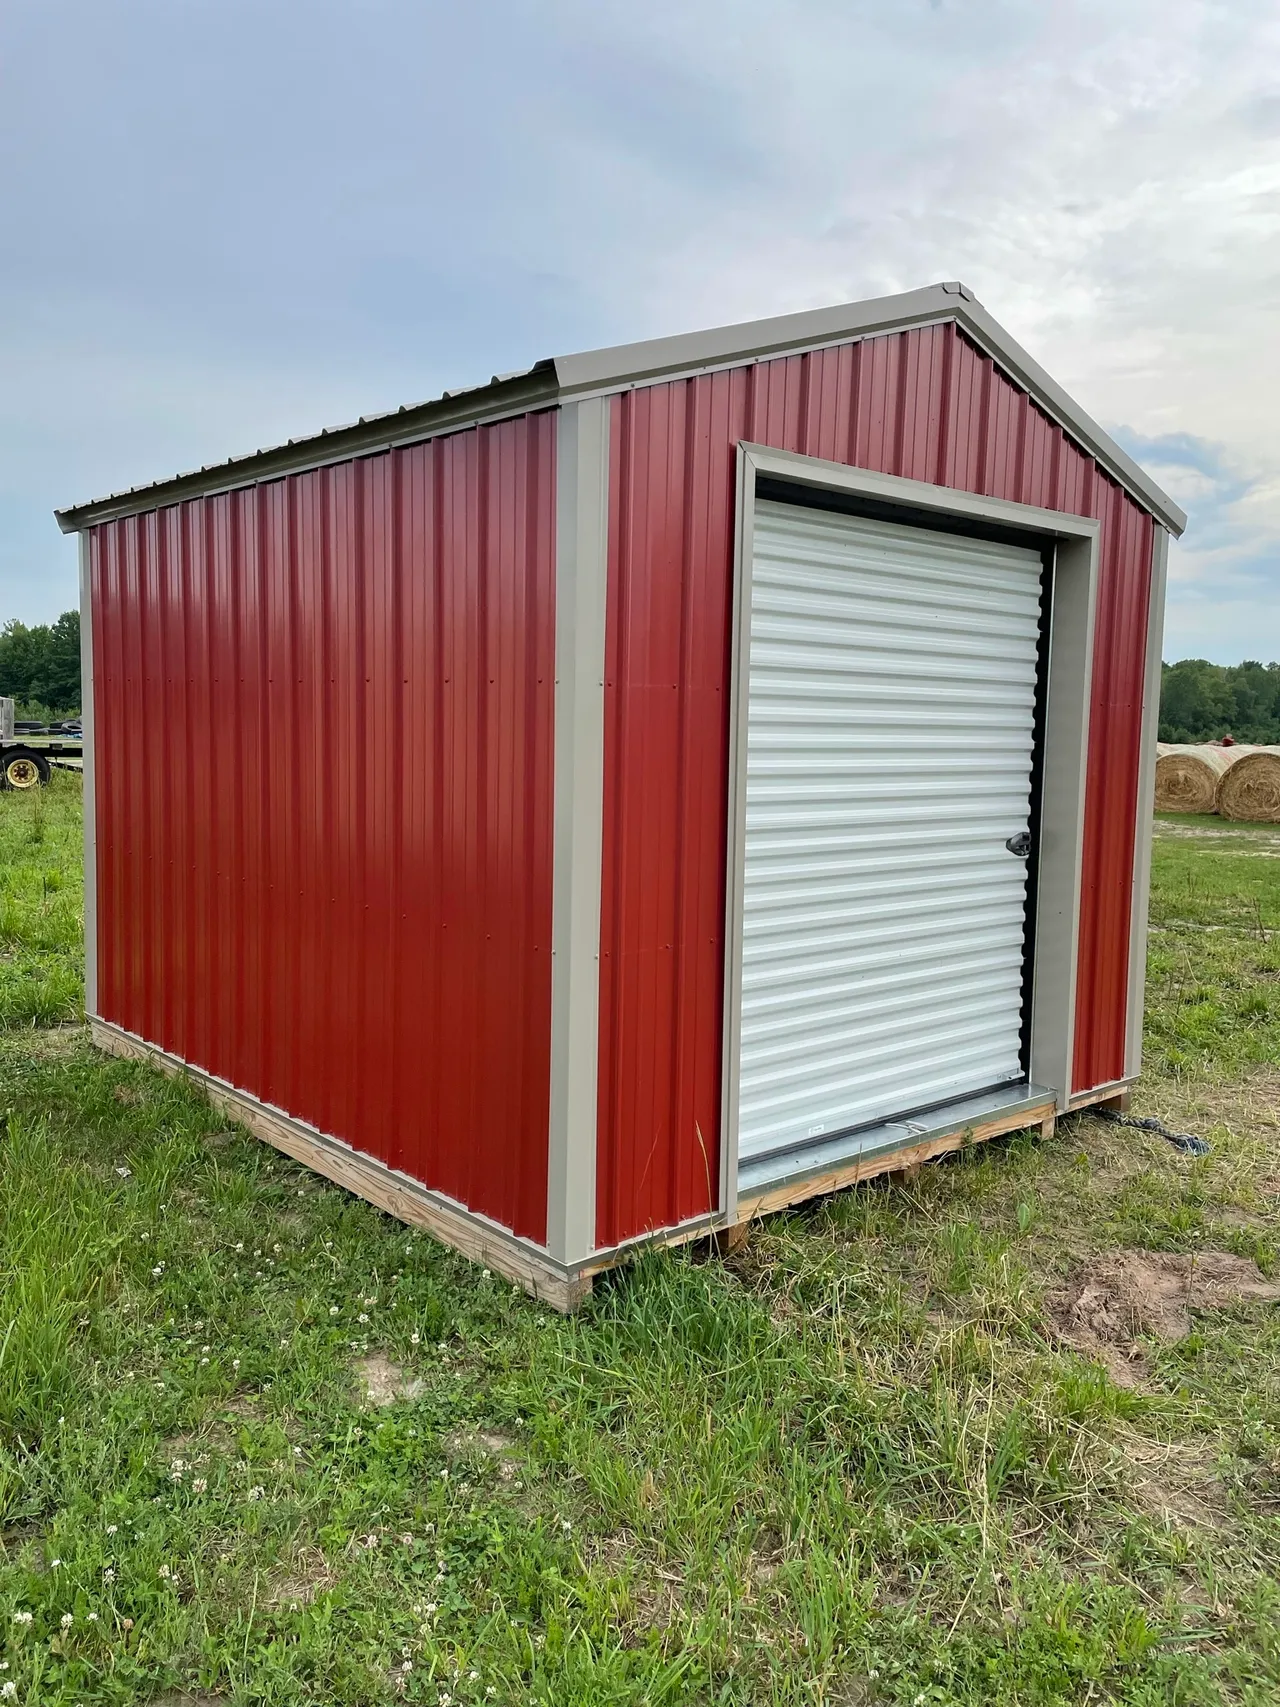
Assess Your Shed:
- Construction: Is your shed wood, metal, or plastic? The material impacts the moving method.
- Size and Weight: Estimate the weight (consider calling a professional if you’re unsure, as this will determine the equipment needed).
- Condition: Are there any signs of rot, rust, or structural weakness? Address these BEFORE moving.
- Contents: Empty the shed completely. Remove all tools, equipment, and stored items.
Location, Location, Location:
- New Location: Ensure the new location is level and prepared (e.g., gravel base, concrete pad).
- Accessibility: Plan the route. Consider obstacles like fences, trees, and the ground’s terrain. Measure the width of the shed and doorways.
- Local Regulations: Check local ordinances regarding shed placement and permits.
Gather Your Tools and Materials:
- Lifting Equipment: This is critical. Options include:
- Skid Steer/Bobcat: Ideal for larger, heavier sheds (rent if necessary).
- Come-Along Winches/Ratcheting Straps: For controlled lifting and pulling.
- Heavy-Duty Jacks: For lifting the shed incrementally.
- Pry Bars: For leverage and loosening.
- Moving Equipment:
- Pipes/Steel Rollers: For rolling the shed (schedule 40 PVC pipes work well).
- Dollies: For short distances and maneuvering.
- Trailer (Optional): For long-distance transport.
- Safety Gear:
- Gloves
- Eye Protection
- Steel-toed Boots
- Work Gloves
- Lifting Equipment: This is critical. Options include:
Step-by-Step Guide to Moving Your Shed
Now that you’ve planned and gathered your equipment, it’s time to move your shed!
Step 1: Clear the Area and Prepare the Shed’s Base:
- Remove any vegetation, debris, or obstructions from the shed’s current location.
- If possible, loosen the shed from its base (e.g., unscrew from skids or foundation).
Step 2: Lifting the Shed (Choose Your Method):
- Jacking Method (For Smaller Sheds):
- Use heavy-duty jacks to lift the shed a few inches at a time, working from corner to corner.
- Place supports (e.g., sturdy blocks) under the shed as you lift to prevent it from settling.
- Skid Steer/Bobcat (For Larger Sheds):
- Carefully position the skid steer with a pallet fork attachment.
- Lift the shed slowly and evenly, ensuring it’s stable.
- Jacking Method (For Smaller Sheds):
Step 3: Moving the Shed (Rolling or Trailer):
- Rolling Method (Shorter Distances):
- Once lifted, insert pipes or rollers under the shed.
- Gently push the shed along the rollers, repositioning them as needed.
- Use come-alongs or ratcheting straps to maintain control, especially on inclines.
- Trailer Method (Longer Distances):
- Carefully load the shed onto a trailer (using the skid steer or jacks).
- Secure the shed to the trailer with straps.
- Drive slowly and cautiously to the new location.
- Rolling Method (Shorter Distances):
Step 4: Positioning and Securing the Shed:
- Carefully position the shed at its new location.
- Lower the shed onto its foundation (level it using shims if necessary).
- Secure the shed to the foundation according to local building codes.
Safety Considerations: Your Top Priority
Moving a shed involves inherent risks. Always prioritize safety:
- Get Help: If the shed is large or heavy, don’t hesitate to recruit assistance.
- Wear Appropriate Safety Gear: Protect your eyes, hands, and feet.
- Clear the Path: Remove any obstacles that could cause a fall or injury.
- Go Slow and Steady: Don’t rush the process. Take your time and check for stability frequently.
- Know Your Limits: If you’re unsure about any step, consider consulting a professional.
Conclusion: A Rewarding DIY Project
Moving your shed yourself can be a challenging but rewarding project. By following this guide, planning carefully, and prioritizing safety, you can successfully relocate your shed and enjoy the benefits of its new position. Remember to thoroughly assess your shed’s condition, gather the right tools, and take your time. Congratulations on your new shed location!
Frequently Asked Questions (FAQs)
1. How much does it cost to move a shed myself?
The cost varies depending on the size and weight of your shed, the distance you’re moving it, and whether you need to rent equipment. Factor in the cost of tools (if you don’t own them), materials, and your time. Moving a shed yourself is significantly cheaper than hiring a professional.
2. What if my shed is too heavy to lift myself?
If your shed is too heavy, consider renting a skid steer or bobcat. Alternatively, consult with a professional shed moving company. They have the expertise and equipment to handle heavy sheds safely.
3. How long does it take to move a shed?
The time required varies depending on the size of the shed, the distance, and the method you choose. A smaller shed moved a short distance might take a few hours, while a larger shed or a long-distance move could take a full day or more. Factor in time for preparation and unforeseen issues.
4. Can I move a shed in the rain?
It’s generally not recommended to move a shed in the rain. Wet conditions can make the ground slippery, increasing the risk of accidents. Wait for a dry day to ensure your safety and the stability of the moving process.
