
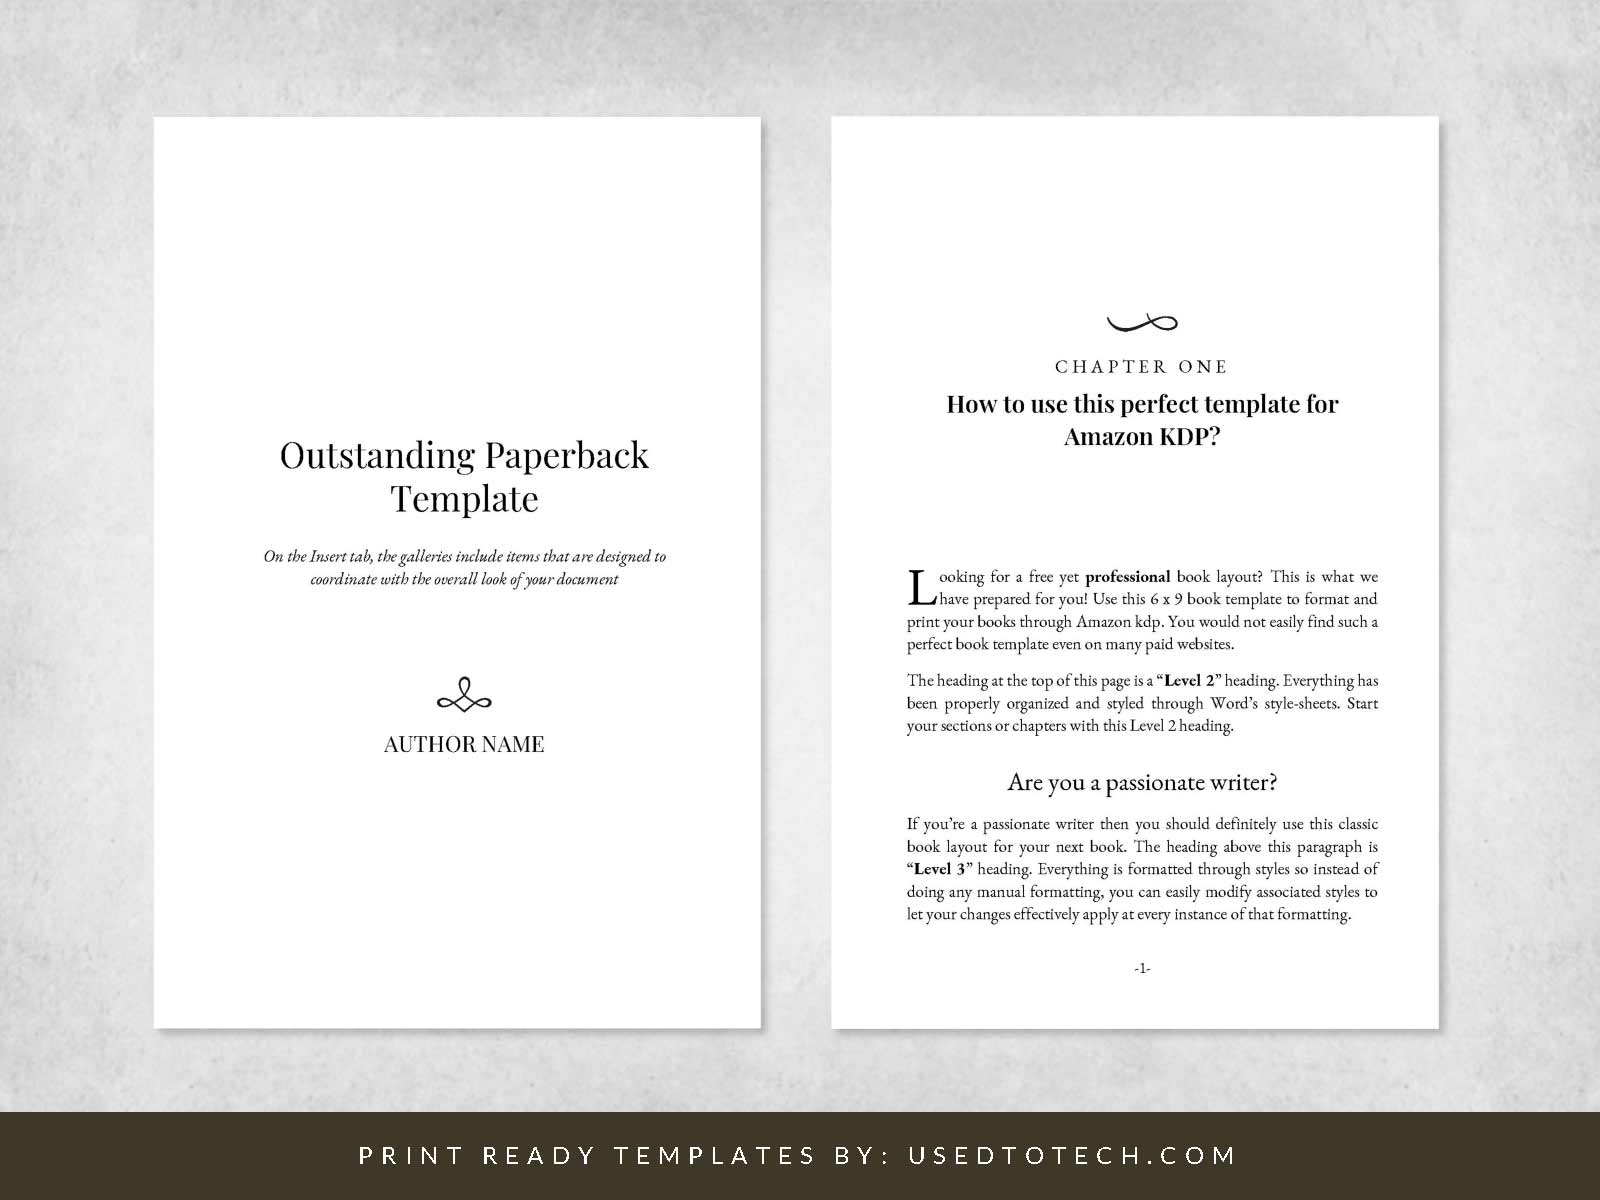


The Amazon KDP Paperback Template: The Only Guide You’ll Ever Need
Are you dreaming of seeing your book gracing the shelves of Amazon? Publishing a paperback through Amazon Kindle Direct Publishing (KDP) is a fantastic way to reach a global audience and build your author platform. But before you can bask in the glory of your published work, you need to master the art of formatting. This guide provides a comprehensive, step-by-step breakdown of the Amazon KDP paperback template, ensuring your manuscript looks professional and is ready for print. Consider this your one-stop shop for navigating the often-complex world of KDP paperback formatting.
Understanding the Importance of the Amazon KDP Paperback Template
Formatting your manuscript correctly is crucial for a successful KDP paperback publication. Incorrect formatting can lead to:
- Rejection from KDP: Improper margins, bleed issues, or incorrect page sizes will be flagged by Amazon.
- Unprofessional Appearance: A poorly formatted book looks amateurish and can negatively impact reader perception.
- Printing Errors: Formatting mistakes can cause text to be cut off, images to be distorted, or pages to print incorrectly.
- Loss of Sales: Readers are more likely to purchase and recommend a well-formatted book.
By using the correct KDP paperback template and adhering to the guidelines, you’ll ensure your book looks its best and is ready for print.
Choosing the Right Amazon KDP Paperback Template
Amazon offers pre-made templates to simplify the formatting process. You have two primary options:
- KDP Template Download: Amazon provides downloadable templates in various formats (e.g., Microsoft Word, OpenOffice, and PDF) tailored to specific trim sizes (e.g., 6x9 inches, 5.5x8.5 inches) and page counts. This is the recommended starting point, especially for beginners. You can find these templates on the KDP help pages under “Paperback Formatting.”
- Using Formatting Software: Programs like Microsoft Word, Google Docs, and dedicated book formatting software (e.g., Vellum, Atticus) can be used to create your manuscript. However, it’s essential to understand the KDP guidelines before using these tools.
Step-by-Step Guide to Formatting Your Manuscript
Here’s a detailed breakdown of the essential steps for formatting your manuscript using the Amazon KDP paperback template:
- Download the Correct Template: Navigate to the KDP website and download the template that matches your desired trim size, page count, and paper type (e.g., cream or white).
- Understand the Template’s Structure: Familiarize yourself with the template’s layout. It typically includes:
- Margins: These are the blank spaces around your text. They are crucial for preventing text from being cut off during printing. KDP templates pre-set these to the correct values.
- Gutter: The extra margin on the inside edges of the pages, designed for binding. The template accounts for the gutter.
- Headers and Footers: These can include page numbers, book titles, and author names.
- Body Text: The main content of your book.
- Chapter Headings: The titles of your chapters.
- Import Your Content: Copy and paste your manuscript text into the template.
- Format Your Text:
- Font: Use a legible font like Times New Roman, Garamond, or similar. Aim for a font size between 11 and 12 points.
- Line Spacing: Use single or 1.15 line spacing for body text.
- Paragraph Indentation: Indent the first line of each paragraph.
- Justification: Choose left-justified or justified text. Be mindful of hyphenation if using justified text.
- Chapter Headings: Style your chapter headings consistently and prominently.
- Insert Images:
- Resolution: Ensure your images have a high resolution (at least 300 DPI) to prevent blurriness.
- Placement: Position images carefully within the template, considering margins and bleed.
- Bleed: If you want an image to extend to the edge of the page, you’ll need to account for bleed. The KDP template instructions will guide you.
- Add Page Numbers: Include page numbers in your headers or footers.
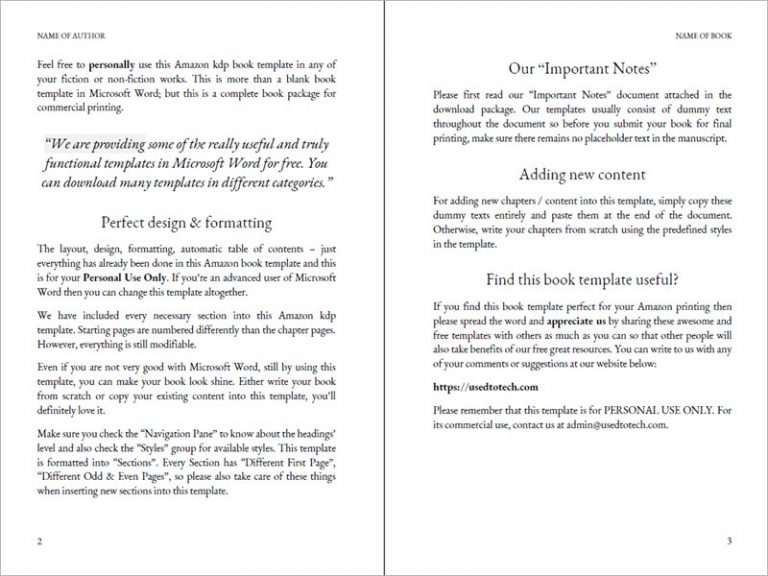
- Create a Table of Contents (if applicable): Generate a table of contents to improve readability and navigation. Most word processors allow you to automate this process based on your heading styles.
- Proofread and Edit: Thoroughly proofread your manuscript for typos, grammatical errors, and formatting inconsistencies.
- Convert to PDF: Once you’re satisfied with the formatting, convert your document to a print-ready PDF. This is a crucial step as it ensures the formatting is preserved.
- Upload and Review: Upload your PDF to KDP and use their previewer to check for any errors. Make necessary adjustments before submitting for publication.
Important Formatting Considerations:
- Trim Size: Choose the right size. Popular sizes are 6x9 inches and 5.5x8.5 inches. Consider your genre and target audience.
- Bleed: Decide whether you need bleed (for images that extend to the edge of the page).
- Margins: Maintain the correct margins to prevent text from being cut off during printing. The KDP templates already have this set.
- Paper Type: Consider the paper type (cream or white) and its impact on the overall look and feel of your book.
- Cover Design: Design a professional cover that complements your book’s content. KDP also offers cover creation tools.
Troubleshooting Common Formatting Issues
- Text Cut Off: Check your margins and ensure no text extends beyond the printable area.
- Image Quality: Verify your images are high-resolution.
- Page Numbering Errors: Double-check that page numbers are correct and consistent.
- Inconsistent Formatting: Review your styles and formatting to ensure consistency throughout the manuscript.
Conclusion: Mastering Your KDP Paperback Template
Formatting your manuscript for Amazon KDP paperback publication might seem daunting at first, but with the right template, a systematic approach, and attention to detail, you can create a professional-looking book that readers will love. By following this comprehensive guide, you’re well on your way to seeing your book published and ready to be enjoyed by a global audience. Remember to always review your book in the KDP previewer before submitting for publication to catch any final formatting errors. Good luck with your publishing journey!
Frequently Asked Questions (FAQs)
1. What is the best software to use for formatting a KDP paperback?
While you can use various software (Microsoft Word, Google Docs, dedicated book formatting software), the key is to understand the KDP guidelines. Start with the KDP template download and adapt it to your software.
2. How do I determine the correct trim size for my book?
Consider your genre, target audience, and the length of your book. Popular sizes include 6x9 inches and 5.5x8.5 inches. Research what sizes are common in your genre.
3. What is “bleed” and do I need it?
Bleed refers to images or elements that extend to the edge of the page. If you have images that touch the page edges, you’ll need to enable bleed in the template. If not, you do not need bleed.
4. Can I use the same template for different books?
Yes, you can reuse the same template for multiple books, but you’ll need to adjust it to match the specific trim size, page count, and formatting requirements of each book.
5. What is the recommended font size for body text?
Generally, a font size between 11 and 12 points is recommended for body text to ensure readability.
