

The Free Printable Tooth Fairy Receipt That Works Every Time: A Guide for Parents
Losing a tooth is a significant milestone in a child’s life, and the Tooth Fairy makes it even more magical! But how do you prove the Tooth Fairy visited? A personalized Tooth Fairy receipt is the perfect solution. This article provides a comprehensive guide to obtaining and using free printable Tooth Fairy receipts, ensuring a seamless and memorable experience for your child.
Why Use a Tooth Fairy Receipt?
The Tooth Fairy experience is about creating wonder and reinforcing good oral hygiene habits. A personalized receipt adds an extra layer of authenticity and excitement. It’s a tangible piece of proof that the magic happened! Here are some key benefits:
- Reinforces Good Behavior: The receipt can be tailored to include a note about brushing and flossing, encouraging healthy habits.
- Creates Lasting Memories: It’s a keepsake your child can treasure for years to come.
- Adds to the Magic: The receipt itself is a fun and engaging part of the Tooth Fairy tradition.
- Easy to Implement: Free printable options make it accessible for all families.
Finding the Perfect Free Printable Tooth Fairy Receipt
The internet offers a wealth of free printable Tooth Fairy receipts. When searching, focus on these key features:
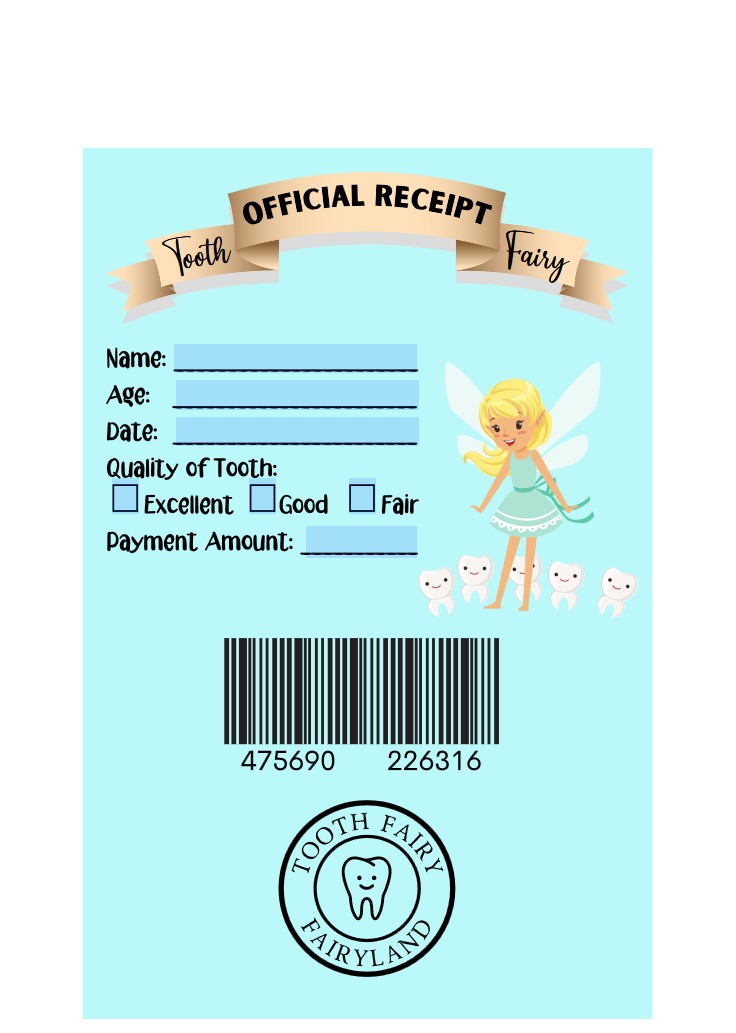
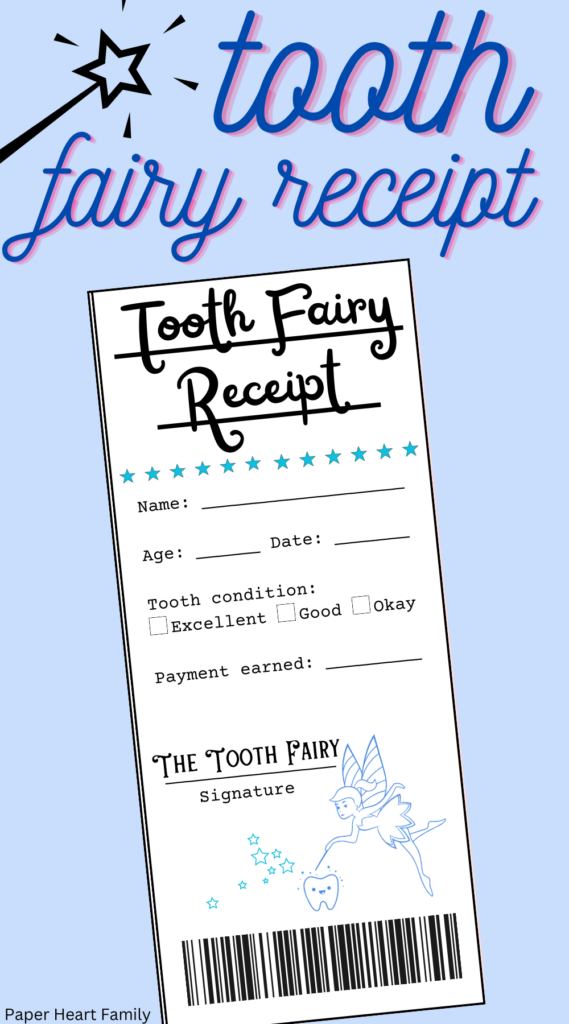
- Customization Options: Look for receipts that allow you to personalize the child’s name, tooth type, date, and even the amount of money left.
- Design Appeal: Choose a design that is visually appealing and age-appropriate. Options range from simple and elegant to whimsical and colorful.
- Print Quality: Ensure the receipt is designed for easy printing on standard paper.
- Ease of Use: The website or platform should be user-friendly and allow for easy download and printing.
Where to Search:
- Pinterest: A great source for visually appealing designs and links to free printables.
- Canva: Offers customizable templates that you can personalize and download for free.
- Google Images: Search for “free printable tooth fairy receipt” and browse the results.
- Craft and Parenting Blogs: Many blogs dedicated to family life offer free printables.
Customizing Your Tooth Fairy Receipt
Once you’ve found a suitable receipt template, personalize it to make it extra special. Consider these customization options:
- Child’s Name: Always personalize the receipt with your child’s name.
- Tooth Type: Specify which tooth was lost (e.g., “First Upper Incisor”).
- Date: Include the date the tooth was lost.
- Amount Paid: Indicate the monetary amount left by the Tooth Fairy.
- A Note: Include a short, sweet message, such as:
- “Thank you for taking care of your teeth!”
- “Keep brushing and flossing!”
- “Enjoy your visit from the Tooth Fairy!”
- Optional: Signature: You can add a signature from the Tooth Fairy, which can be a fun touch.
- Optional: Special Feature: Some receipts include a section for writing the child’s favorite snack or activity.
Printing and Presenting the Receipt
Printing the receipt is simple. Once downloaded, print it on standard paper. For a more durable keepsake, consider printing on cardstock.
Presentation Tips:
- Leave it with the Money: Place the receipt alongside the money under the child’s pillow.
- Make it Magical: Sprinkle a little glitter or fairy dust (optional!) for added effect.
- Read it Together: The next morning, read the receipt with your child and celebrate the exciting event.
- Take Pictures: Capture the moment your child discovers the receipt to cherish the memory.
Troubleshooting and Tips
- Printer Issues: Ensure your printer is connected and has ink.
- Paper Jam: Check for paper jams if printing fails.
- Lost Receipt: If the receipt gets misplaced, print a new one or create a handwritten replacement.
- Get the Child Involved: Include your child in the process of personalizing the receipt.
- Consider the Currency: If using foreign currency, make sure the amount is clearly indicated.
Conclusion: Making the Tooth Fairy Visit Memorable
A free printable Tooth Fairy receipt is a simple yet impactful way to enhance the Tooth Fairy experience and create lasting memories for your child. By following the steps outlined in this guide, you can easily find, customize, and present a receipt that will bring joy and reinforce healthy habits. Embrace the magic and celebrate this special childhood milestone with a touch of fairy dust and a perfectly crafted receipt!
Frequently Asked Questions
1. What if my child is too old for the Tooth Fairy?
Even older children can appreciate the sentiment. You can still use a receipt, but perhaps adjust the amount of money and tone of the note to be more age-appropriate. You can also make it a fun tradition to keep!
2. What if I don’t have a printer?
You can handwrite a Tooth Fairy receipt or ask a friend or family member to print one for you.
3. How much money should the Tooth Fairy leave?
The amount varies depending on your budget and local customs. It’s common to leave a dollar or two, but some families may choose to leave more or less. Consider the value of the tooth and your child’s age.
4. How can I make the receipt look more realistic?
Using a slightly textured paper or cardstock can add to the authenticity. You can also add a small stamp or embellishment to the receipt.
5. What if the child loses the tooth while at school or daycare?
No problem! You can still use the receipt and explain that the Tooth Fairy visited while they were away.
