


The Microsoft Word Letter Template for Window Envelopes You’ll Ever Need
Sending professional-looking mail, whether for business or personal correspondence, requires attention to detail. One crucial aspect is ensuring your letters fit seamlessly within window envelopes. A poorly formatted letter can lead to wasted time, resources, and a less-than-polished image. This article guides you through creating the perfect Microsoft Word letter template specifically designed for window envelopes, ensuring your recipient’s address is always visible and your mail looks its best.
Why a Dedicated Window Envelope Template Matters
While you might get away with a standard letter format, using a template specifically tailored for window envelopes offers significant advantages:
- Accuracy: Eliminates guesswork, ensuring the address block aligns perfectly with the envelope window.
- Efficiency: Saves time by removing the need to manually adjust the address position each time.
- Professionalism: Projects a polished and organized image, reflecting positively on you or your business.
- Cost-Effectiveness: Reduces wasted paper and potential reprinting due to address misplacement.
Setting Up Your Microsoft Word Template
Creating a reliable window envelope letter template in Word is straightforward. Follow these steps:
Open a New Document: Launch Microsoft Word and begin with a blank document.
Page Setup: Configure your page settings to match standard letter size (8.5 x 11 inches). Go to the “Layout” tab and click “Size” to select “Letter.”
Margins: Adjust the margins to provide space for your letter content and ensure proper alignment within the window. The most important margin is the top margin, which determines the vertical position of the address. You’ll need to determine the specific dimensions needed for your envelope. Generally, a top margin of 2.5 to 3 inches works well, with left and right margins of 1 inch. Go to the “Layout” tab and click “Margins.” Choose “Custom Margins” to enter your desired values.
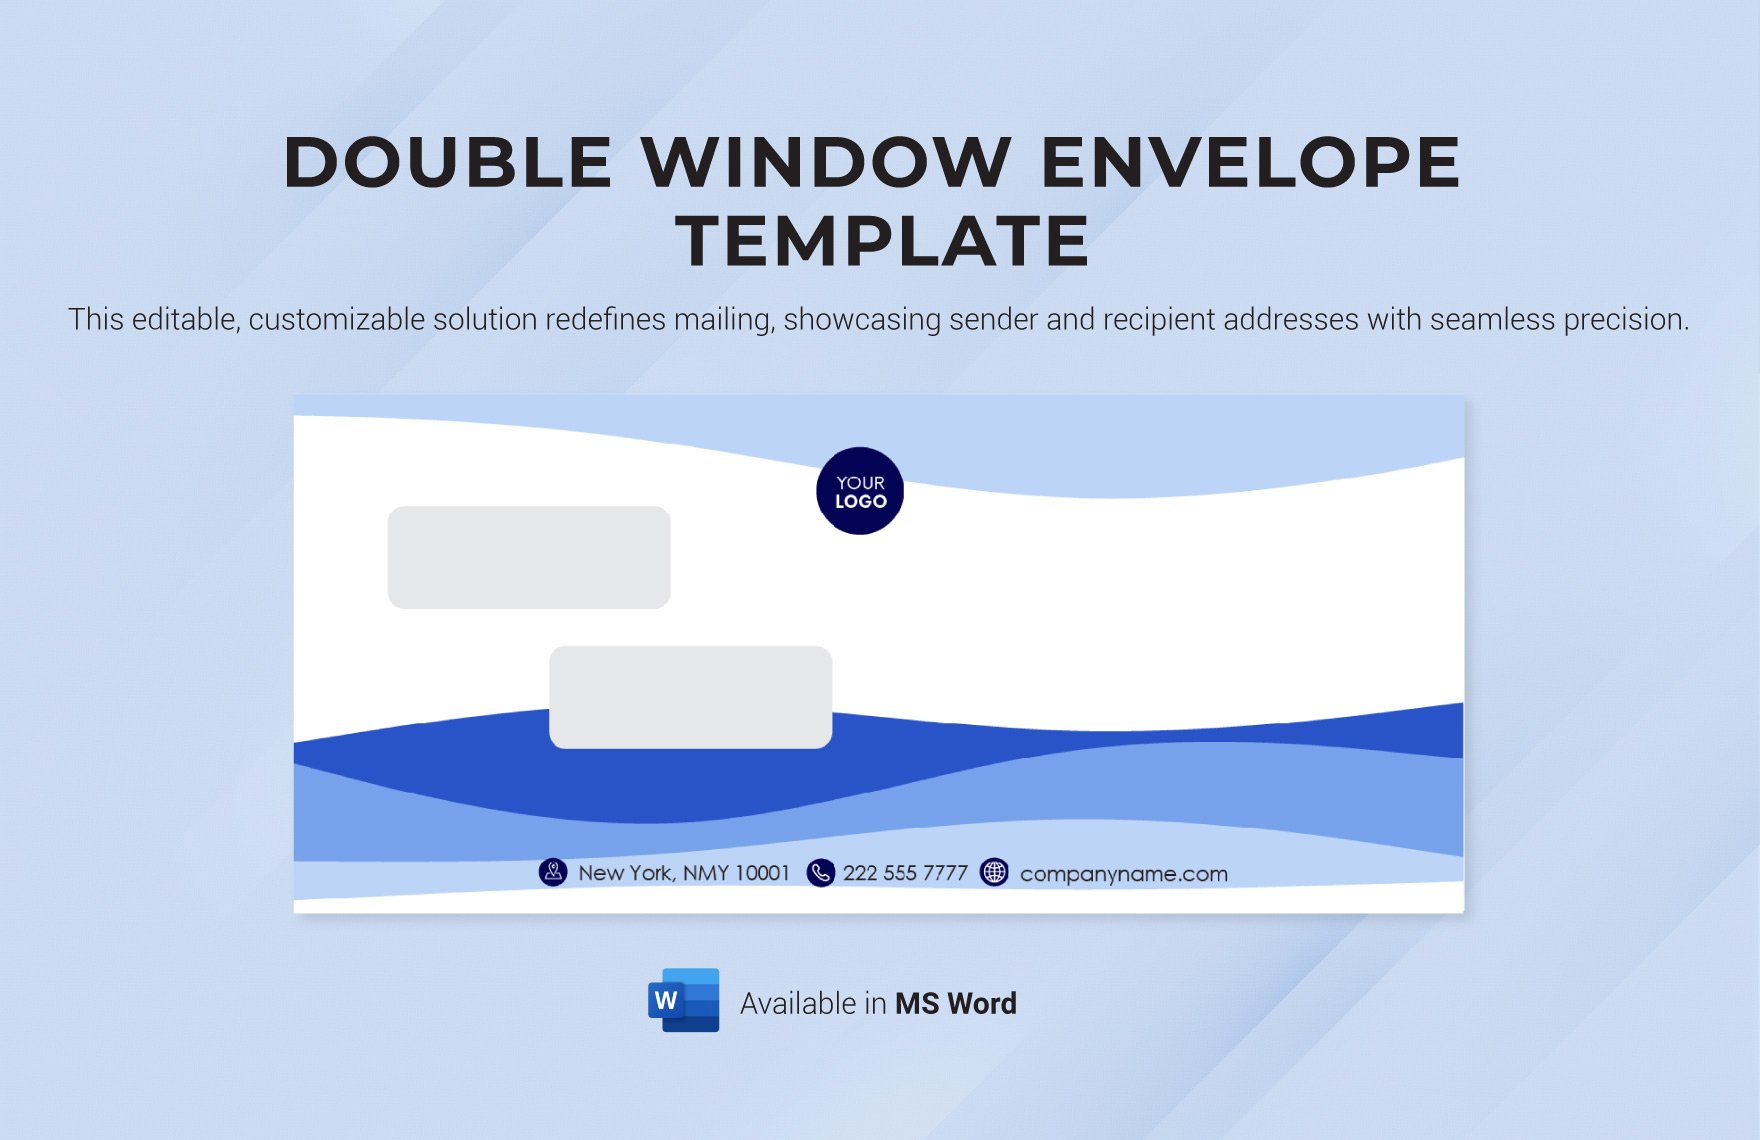
Address Block: Create a dedicated address block. This is the most critical part of the template. Insert a text box (Insert > Text Box > Simple Text Box). This allows you to precisely position the address.
- Positioning: The text box should be positioned to align with the window of your envelopes. The window’s dimensions and position vary depending on the envelope type. Measure your envelopes accurately to determine the correct placement.
- Content: Within the text box, include the recipient’s name, address, city, state, and zip code. Use a clear and professional font like Arial or Times New Roman, size 10-12.
- Formatting: Ensure the address is left-aligned or justified. Consider using single spacing within the address block for a clean look.
Date and Salutation: Position the date and salutation (e.g., “Dear [Recipient Name],”) below the address block, typically aligned to the left. You can use standard paragraph formatting.
Body of the Letter: Compose the main body of your letter. Use standard paragraph formatting, including appropriate spacing and indentation.
Closing and Signature: Add your closing (e.g., “Sincerely,” or “Best regards,”) and space for your signature. You can also add your printed name and title below.
Save Your Template: Save your document as a Word template (.dotx) to reuse it for future letters. Go to File > Save As > Save as type: Word Template (.dotx). Give your template a descriptive name, such as “Window Envelope Letter Template.”
Customizing Your Template for Different Envelope Sizes and Types
Envelopes come in various sizes and with windows in different positions. Here’s how to adapt your template:
- Measure Your Envelopes: The key to success is accurate measurement. Measure the distance from the top and left edges of the envelope to the top-left corner of the window. Also, measure the window’s height and width.
- Adjust the Text Box: Modify the position and size of the address block text box in your template to match your envelope’s window dimensions and position.
- Test Print: Before sending out a large batch of letters, print a test copy and check the address alignment with your actual envelopes. Make any necessary adjustments to the text box or margins.
Optimizing Your Template for Different Recipients
Your template should be versatile enough to adapt to different recipient addresses. Consider these tips:
- Variable Information: Use mail merge functionality in Word to personalize your letters for multiple recipients. This allows you to easily insert names, addresses, and other variable information from a data source (e.g., a spreadsheet).
- Address Length: Design your template to accommodate longer addresses. Ensure the address block text box is wide enough to handle multiple lines.
- Font Choice: Select a font that’s easily readable and doesn’t take up excessive space, allowing for longer addresses.
Conclusion: Mastering the Art of Window Envelope Letters
Creating a well-designed Microsoft Word letter template for window envelopes is a vital step in ensuring professional and efficient communication. By following the guidelines outlined in this article, you can create a template that streamlines your mailing process and enhances your brand’s image. Remember to measure your envelopes accurately, test print, and save your template for future use. With this knowledge, you’re well-equipped to send polished, professional letters every time.
Frequently Asked Questions (FAQs)
1. What if my address doesn’t fit within the window?
If your address is too long, try shortening the address lines, using a smaller font size (while maintaining readability), or adjusting the text box size. Consider using abbreviations where appropriate (e.g., “St.” for “Street”).
2. How do I use mail merge with my template?
In Word, go to the “Mailings” tab. Select “Start Mail Merge” and choose “Letters.” Then, select “Select Recipients” and choose your data source (e.g., an Excel spreadsheet). Insert the merge fields (e.g., < >, < >) into your address block text box where the recipient’s information should go.
3. Can I save different templates for different envelope sizes?
Yes, absolutely! Save your base template and then create copies, modifying the address block position and size to match each envelope type. Name each template clearly to avoid confusion (e.g., “Window Envelope - Business Size,” “Window Envelope - A7”).
4. How do I troubleshoot address alignment problems?
If the address doesn’t align correctly, double-check your measurements of the envelope window and the text box position in your template. Print a test copy and compare it to your envelope. Make small adjustments to the text box position and repeat the test until the alignment is perfect.
5. What if I don’t have a printer?
You can save your template as a PDF and send it to a print shop or online printing service. Provide them with the envelope specifications (size, window position) so they can print the address correctly.
