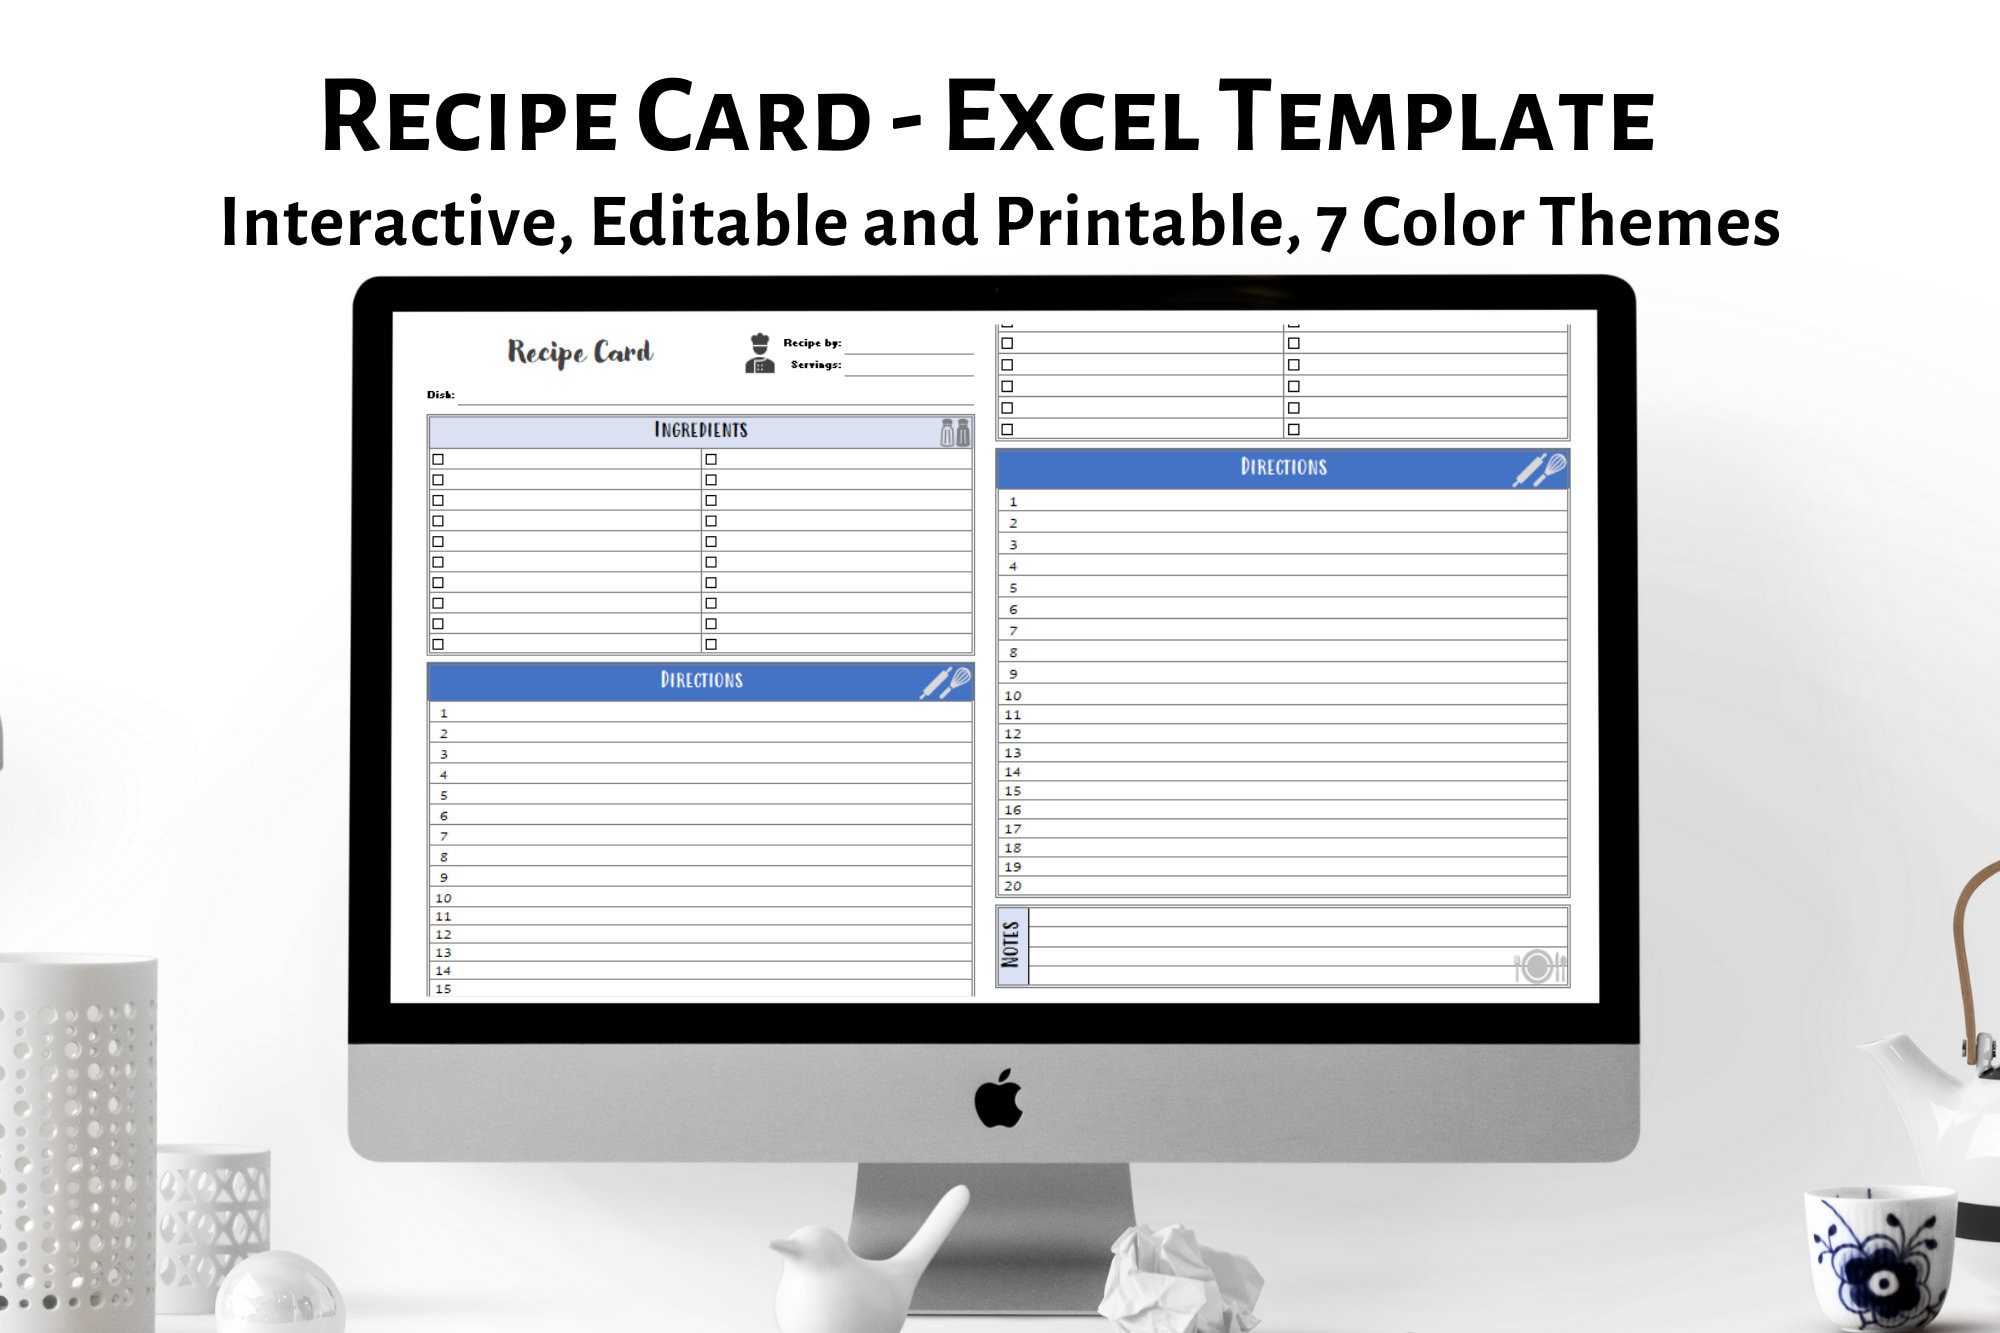
The Recipe Card Template in Excel You’ll Ever Need
Are you a passionate home cook, a budding food blogger, or just someone who loves to keep their recipes organized? If so, you understand the value of a well-structured recipe card. Forget the endless scribbled notes and crumpled index cards – Excel offers a powerful, customizable, and surprisingly user-friendly solution for creating professional-looking recipe cards. This article will guide you through everything you need to know about crafting the perfect recipe card template in Excel, ensuring your culinary creations are always at your fingertips.
Why Use an Excel Recipe Card Template?
Before diving into the “how,” let’s explore the “why.” Excel provides numerous advantages over traditional methods of recipe organization:
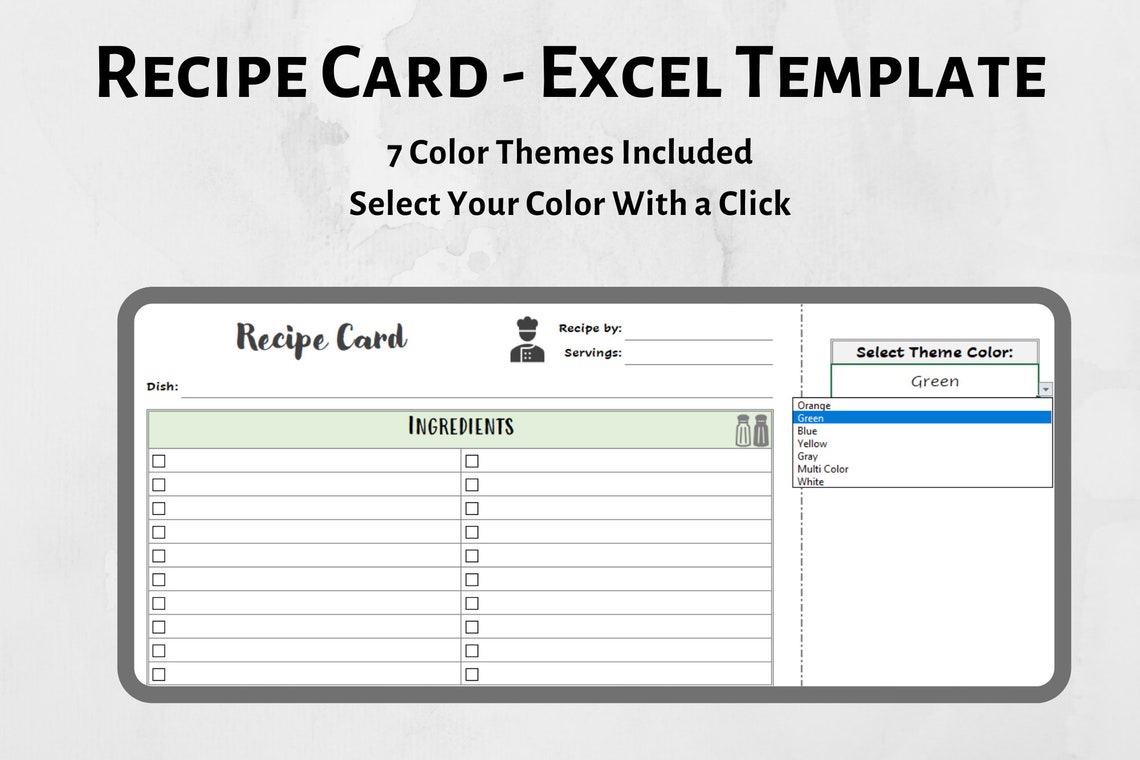
- Customization: Tailor the template to your specific needs. Add or remove fields, change colors, and adjust formatting to create a visually appealing and functional recipe card.
- Organization: Easily categorize recipes by type, cuisine, dietary restrictions, or any other criteria you choose.
- Searchability: Use Excel’s built-in search function to quickly find any recipe, regardless of how many you have.
- Calculations: Automatically calculate ingredient quantities based on serving size or scale recipes up or down.
- Accessibility: Access your recipes from any device with Excel installed (or through online versions like Google Sheets).
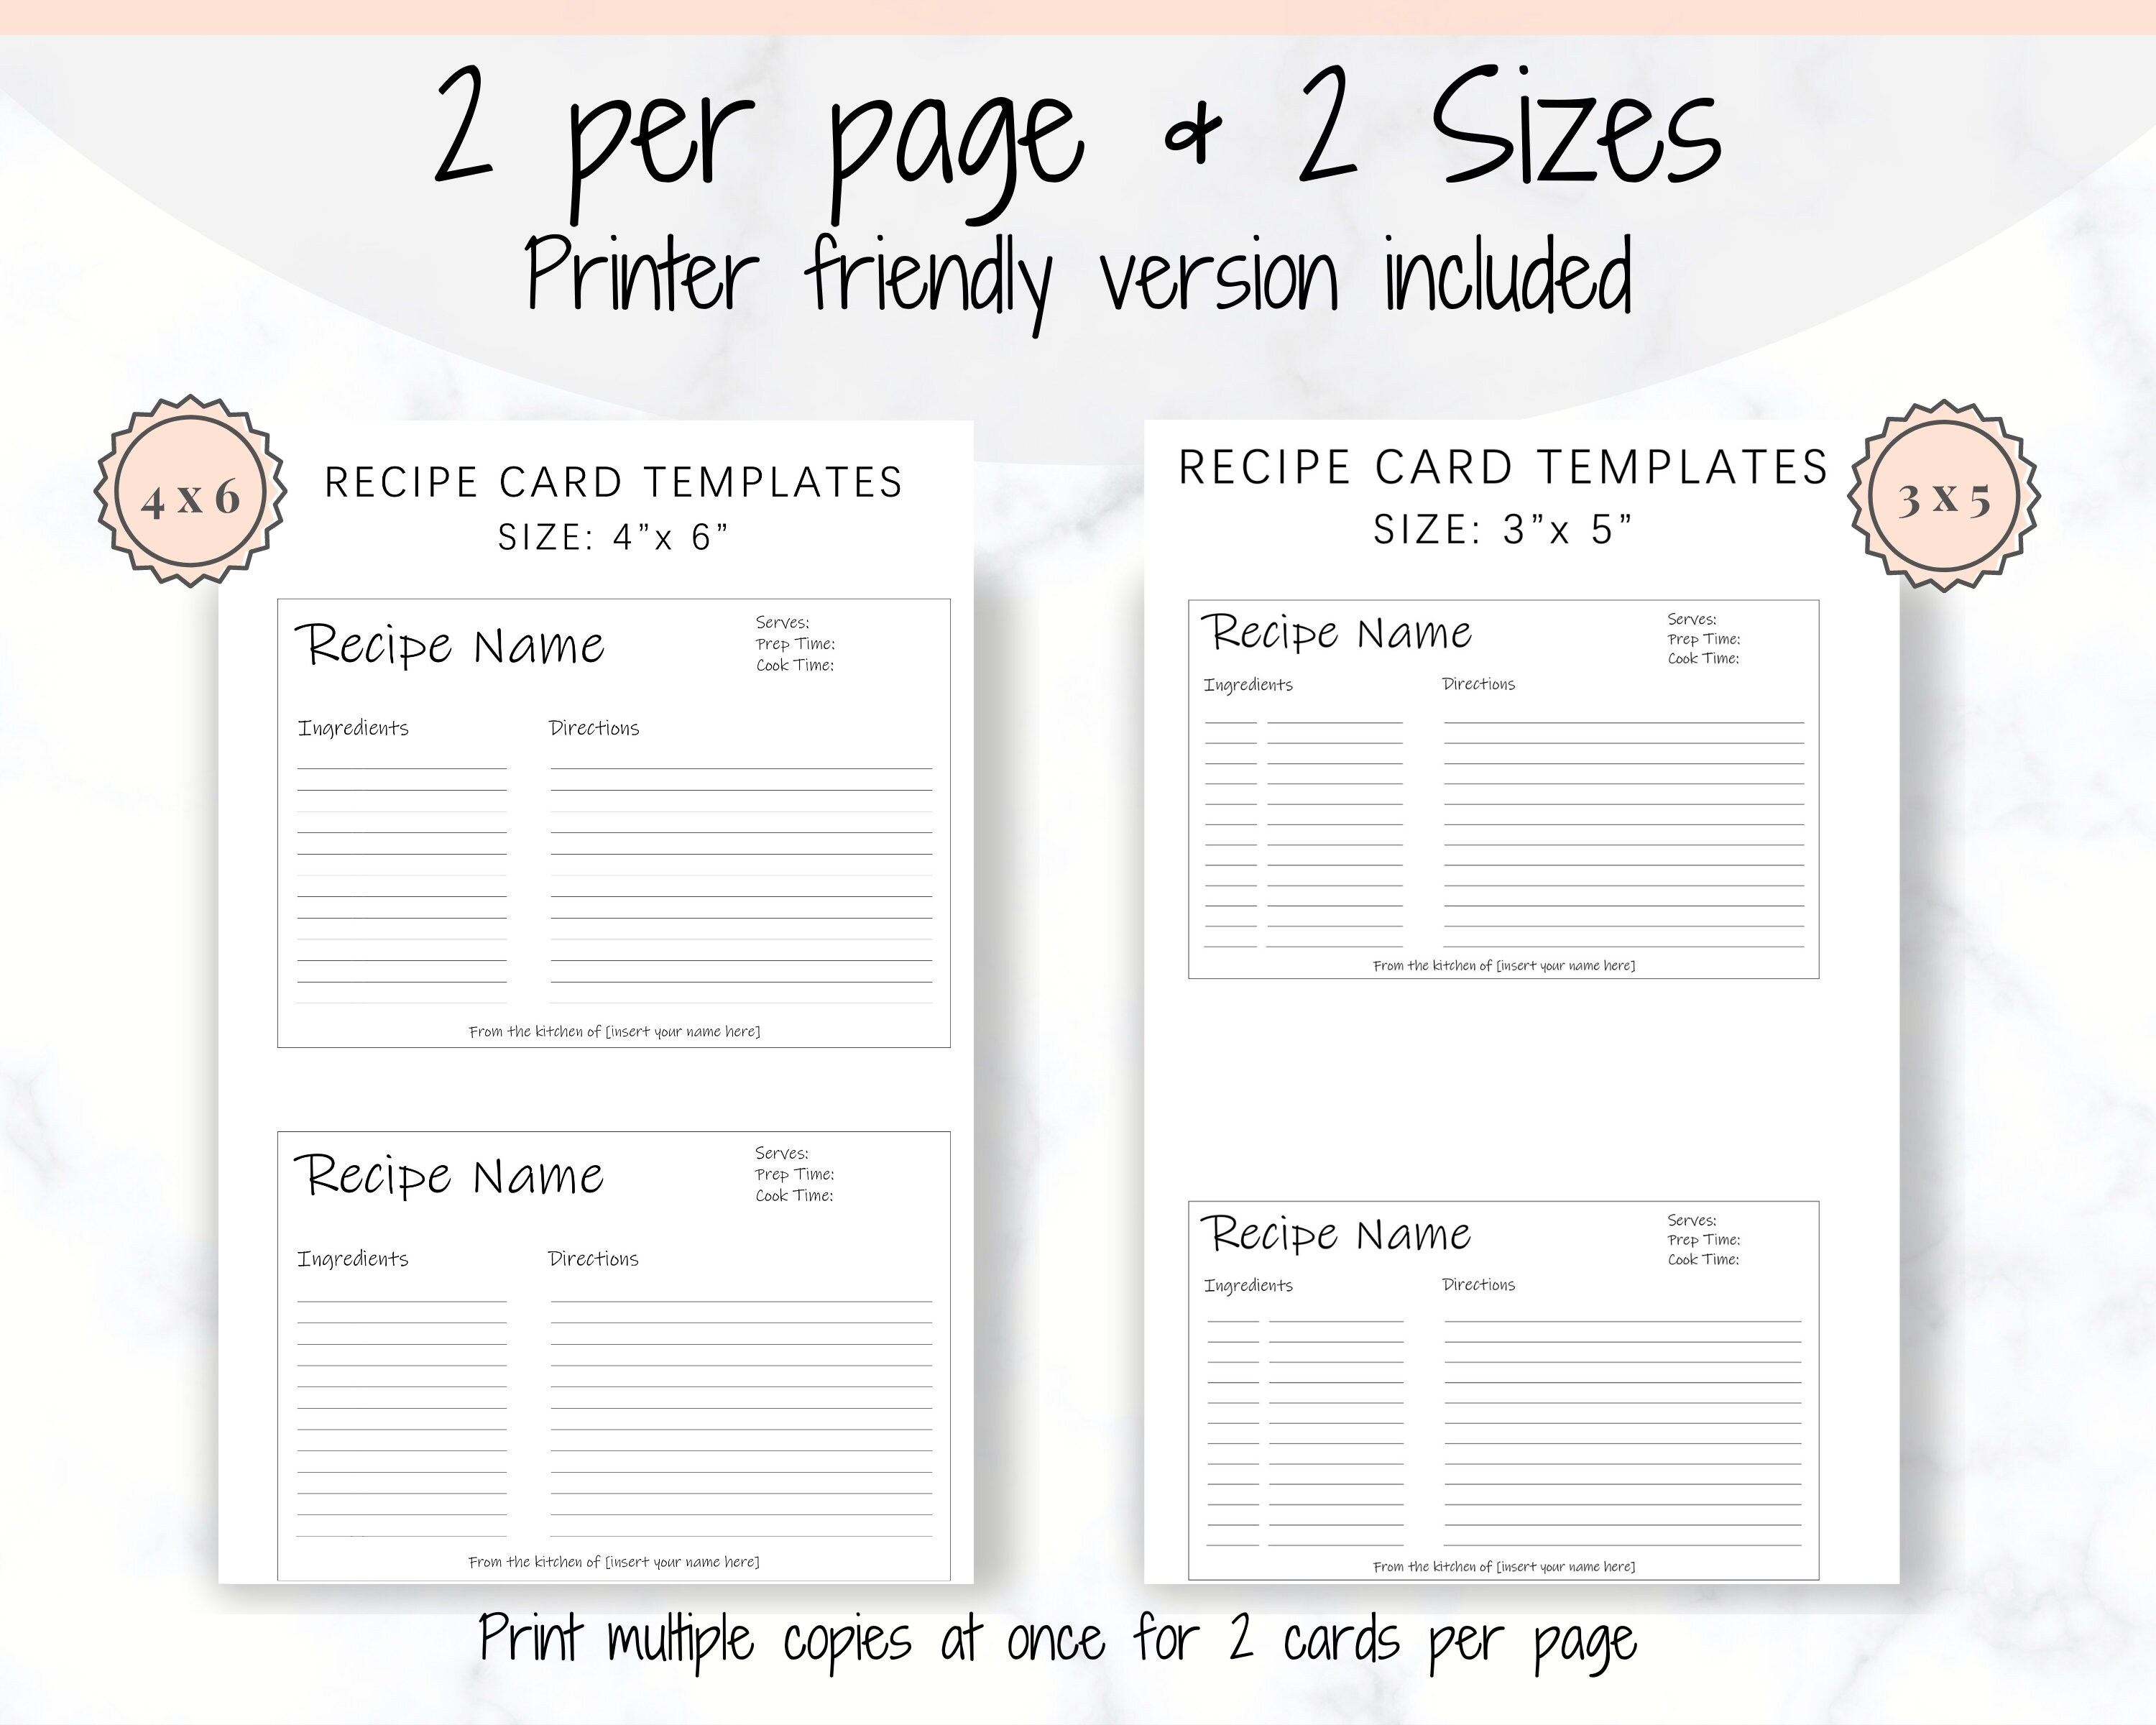
- Printability: Print beautiful, clear recipe cards ready for your kitchen.
- Cost-Effective: Excel is often already available on your computer, making it a free (or low-cost) solution.
Building Your Excel Recipe Card Template: A Step-by-Step Guide
Now, let’s get down to the practicalities. Here’s how to build a comprehensive and functional recipe card template in Excel:
1. Setting Up Your Foundation: The Basic Structure
Start by opening a new Excel workbook. In the first sheet (you can rename it “Recipe Card Template”), begin by defining the key sections of your recipe card:
- Recipe Title: (e.g., “Classic Chocolate Chip Cookies”)
- Prep Time: (e.g., “15 minutes”)
- Cook Time: (e.g., “10-12 minutes”)
- Servings: (e.g., “24 cookies”)
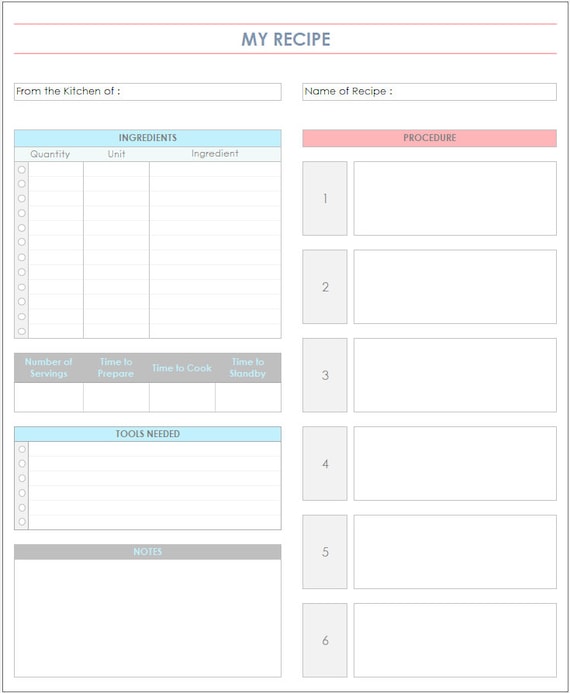
- Ingredients: This will be the most detailed section. Create columns for:
- Quantity (e.g., “1 1/2”)
- Unit (e.g., “cups”)
- Ingredient (e.g., “all-purpose flour”)
- Instructions: A text box or a series of numbered steps.
- Notes: Any additional information, such as variations, tips, or source information.
- Category: (e.g., “Cookies,” “Desserts,” “Gluten-Free”)
- Keywords: (e.g., “chocolate,” “cookies,” “easy”) - Helps with searchability.
2. Formatting and Design: Making it Visually Appealing
- Headers: Bold the header cells (e.g., “Recipe Title,” “Ingredients”) for clarity. Use a different background color to make them stand out.
- Font and Size: Choose a readable font (e.g., Arial, Times New Roman) and size (e.g., 12-14 points) for the main text. Consider a larger font for the title.
- Borders: Use borders to delineate the different sections and create a clean layout.
- Alignment: Center-align the recipe title and perhaps the serving size for a balanced look.
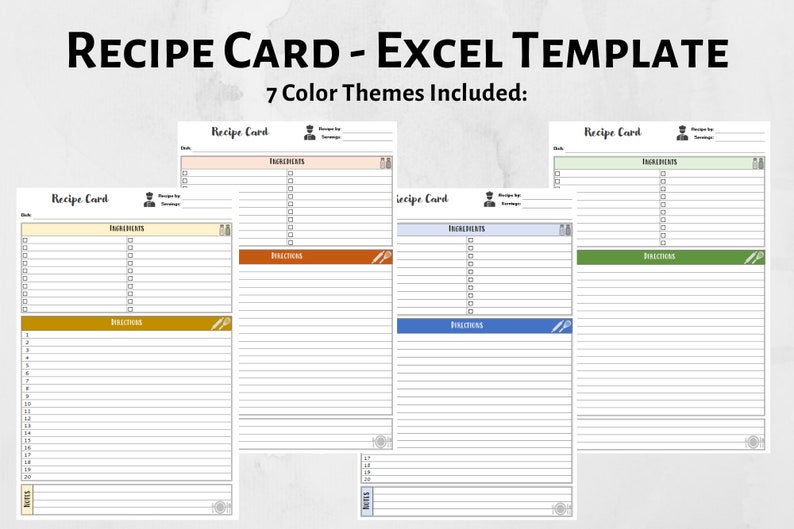
- Colors: Use a consistent color scheme. Consider using muted colors for a professional look or brighter colors to make your recipe cards more visually appealing.
- Images: While Excel doesn’t directly support image insertion, you can add a placeholder and then insert the image when printing or converting to PDF.
3. Enhancements: Adding Functionality
- Calculations for Ingredient Scaling:
- Create a cell for “Desired Servings” and a cell for “Original Servings.”
- In the “Quantity” column of your ingredients, use a formula:
= (Original Quantity * (Desired Servings / Original Servings)) - This allows you to easily adjust the recipe’s serving size, and the ingredient quantities will automatically update.
- Dropdown Menus: For the “Category” and “Unit” columns, use data validation to create dropdown menus, ensuring consistency and saving you time.
- Conditional Formatting: Use conditional formatting to highlight ingredients that are nearing expiration dates or ingredients that need to be restocked.
- Hyperlinks: Add hyperlinks to your favorite online recipe resources or videos.
4. Saving and Utilizing Your Template
- Save as a Template: Once you’re happy with your template, save the Excel file as an “Excel Template (.xltx)” file. This ensures that when you open the template, you’ll always start with a clean copy.
- Creating New Recipe Cards: Open your template file. Enter the details for your new recipe, filling in all the relevant fields.
- Printing: Print your recipe cards by selecting the desired area (the recipe card), then going to “File” -> “Print”. Adjust the page settings (e.g., margins, orientation) to ensure your recipe card looks good on paper.
- Sharing (Optional): You can share your template with friends and family, allowing them to easily adapt it to their own needs.
Optimizing Your Recipe Card Template for SEO
While your Excel recipe card template won’t directly appear in search engine results, consider these points:
- Keywords: Include relevant keywords in your recipe titles, categories, and notes. This helps you find your recipes quickly within your Excel file.
- Descriptive Text: Write clear and concise instructions and notes. Use language that accurately describes the recipe and its preparation.
- Organization: Organize your recipes logically (e.g., by cuisine, type, dietary restrictions). This makes searching easier and more efficient.
Frequently Asked Questions (FAQs)
1. Can I use this template on Google Sheets?
Yes! While the formatting might require some adjustments, the core structure and functionality of the Excel template can be easily replicated in Google Sheets. This allows for cloud-based access and sharing.
2. How can I add an image to my recipe card?
Excel doesn’t directly support image insertion within cells. However, you can either:
- Insert an image object (Insert -> Illustrations -> Pictures) and resize/position it. This might be difficult to manage within your recipe card layout.
- Add a placeholder in your layout and insert the image when printing or exporting to PDF.
- Use a dedicated recipe card maker that integrates with Excel.
3. How do I scale the recipe for different serving sizes?
As described above, implement a formula in the “Quantity” column of your ingredients, which references a cell for “Desired Servings” and the “Original Servings.” This will automatically recalculate the ingredient quantities when you change the desired serving size.
4. Can I protect my recipe card template from being accidentally altered?
Yes, you can protect the sheet by going to the “Review” tab and selecting “Protect Sheet.” You can specify which cells are editable, allowing you to lock down the formatting and formulas while still allowing editing of the recipe details.
5. Is there a way to automate the creation of multiple recipe cards?
Unfortunately, Excel doesn’t have a native feature to automate creating multiple recipe cards based on a data set. You would need to manually copy and paste the data or use a more advanced solution, such as a macro or a separate application designed for recipe management.
