


Why Your Printable Scroll Saw Bowl Patterns Are All Wrong (and How to Fix It)
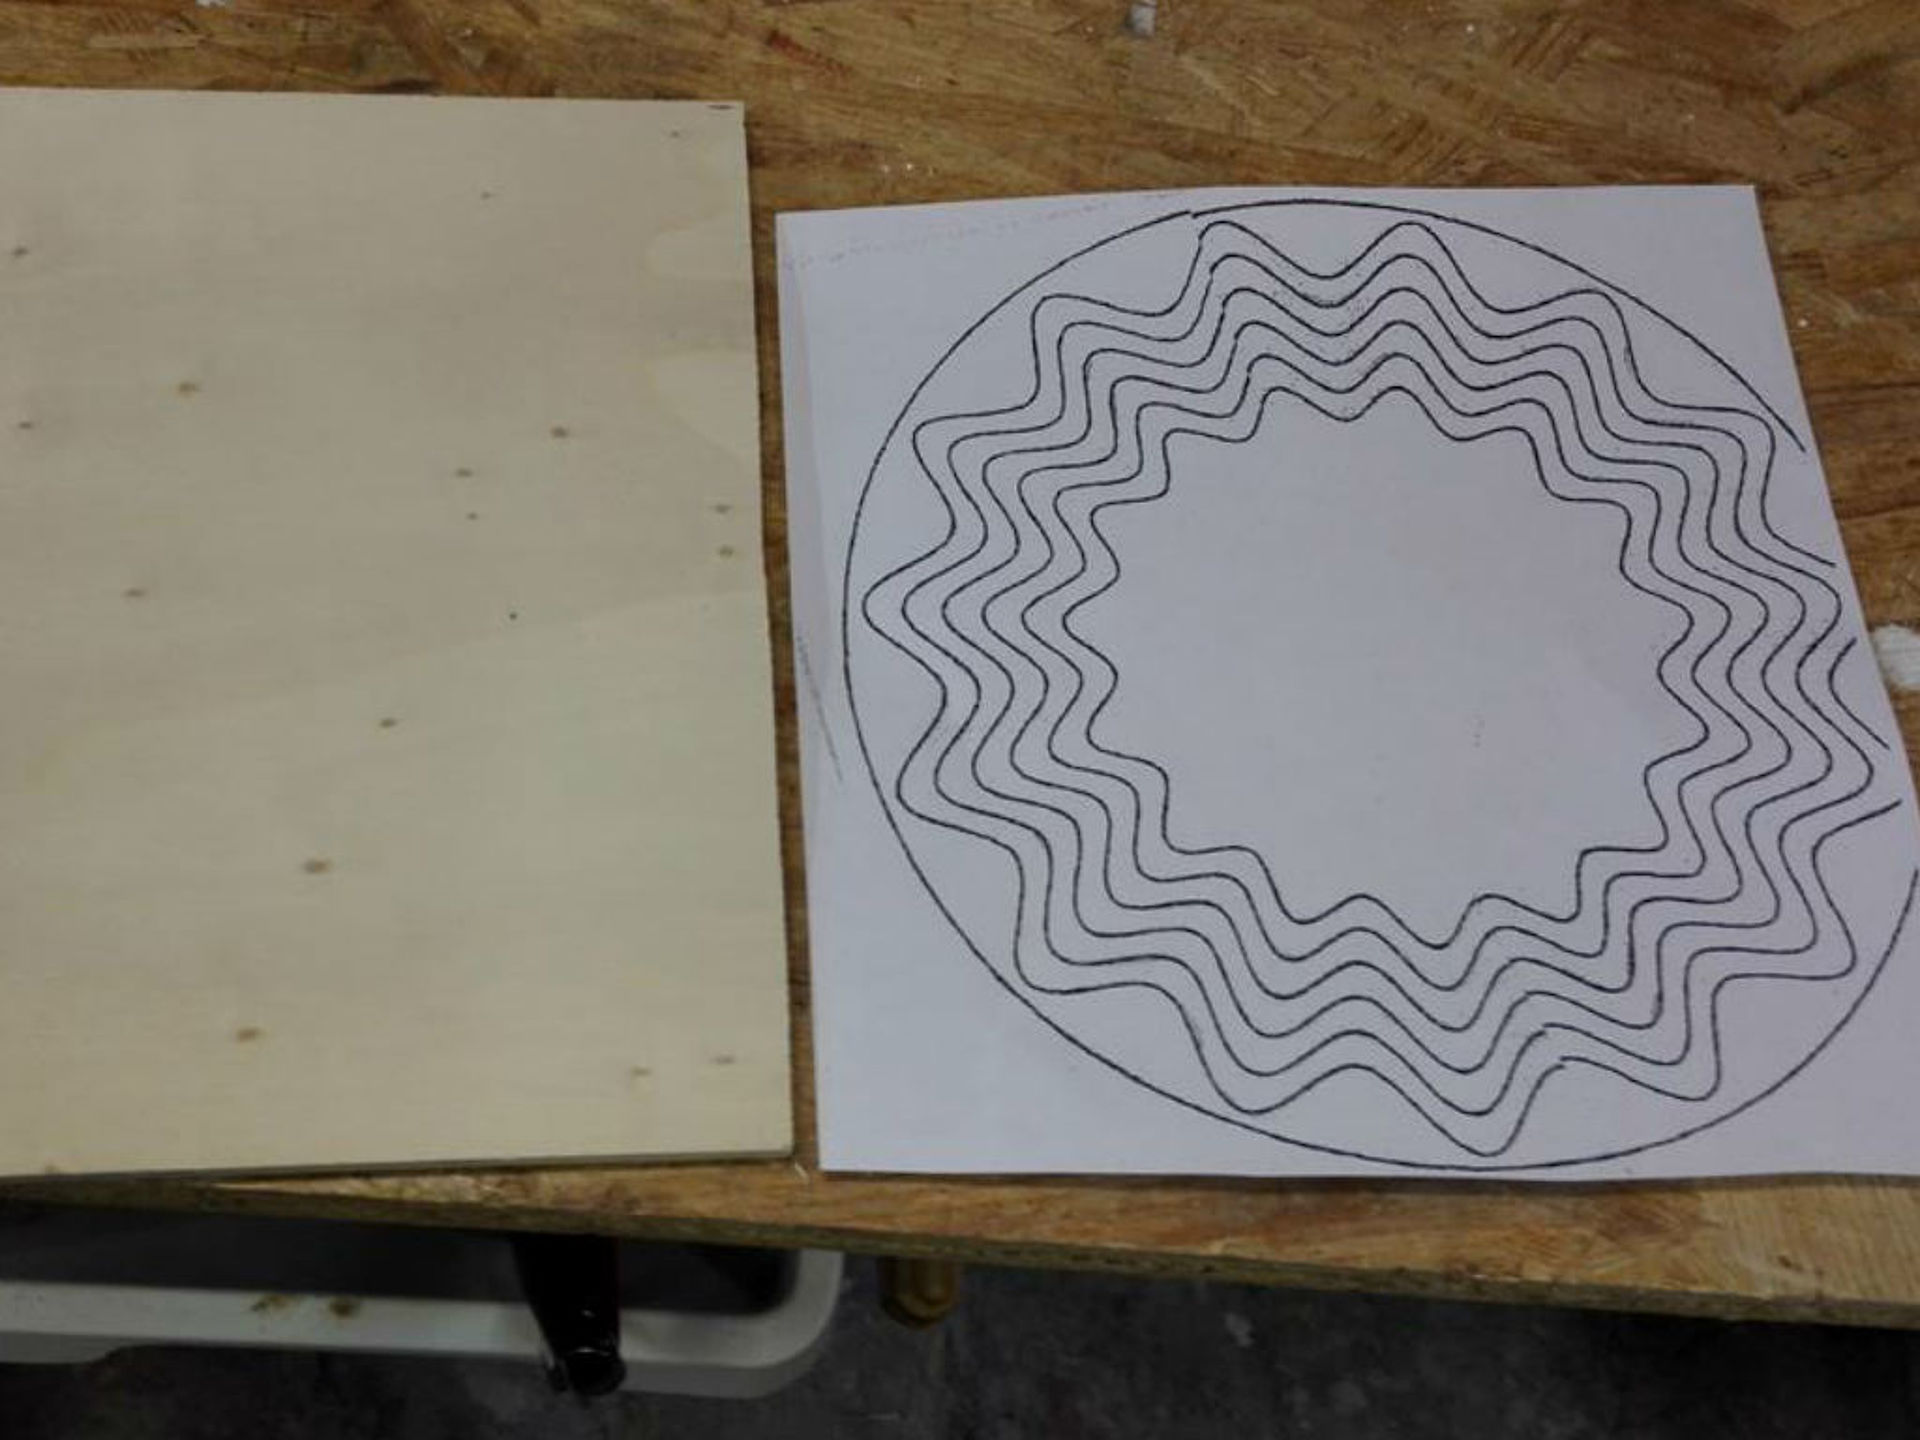
So, you’ve downloaded a stunning printable scroll saw bowl pattern. You’ve carefully printed it, meticulously taped it to your wood, and… disaster. The sides don’t line up. The bowl looks warped. The whole project feels like a frustrating waste of time. You’re not alone. Many scroll saw enthusiasts, from beginners to seasoned veterans, encounter issues with bowl patterns. The good news? These problems are often easily avoidable, and this article will guide you through why your patterns might be failing and, more importantly, how to fix them.
The core issue often lies in the inherent limitations of transferring a 3D object (a bowl) onto a 2D surface (paper). Let’s delve into the common pitfalls and solutions.
The Root of the Problem: Understanding Pattern Distortion
The primary reason your printable scroll saw bowl patterns might be “wrong” is due to the necessary distortion inherent in flattening a three-dimensional shape. Think about peeling an orange. You can’t simply lay the peel flat without ripping and distorting it. Similarly, bowl patterns require careful manipulation to translate the curved surfaces into a usable 2D template. Here are some of the key challenges:
- Curvature Discrepancies: The gentle curves of a bowl are challenging to represent accurately on a flat surface. Slight inaccuracies in the pattern can result in significant discrepancies when the pieces are assembled.
- Assembly Errors: Even with a perfect pattern, slight variations in cutting, sanding, or glue-up can compound errors. This is why precision is paramount.
- Pattern Design Flaws: Not all printable bowl patterns are created equal. Some are poorly designed, using inaccurate calculations or failing to account for the wood’s thickness.
- Wood Thickness Considerations: Many patterns don’t account for the wood’s thickness, which is crucial for proper alignment and bowl shape.
Common Pattern Problems and How to Rectify Them
Let’s break down the specific issues you might be facing and explore solutions:
Incorrect Side Alignment:
- Problem: The side pieces don’t meet cleanly, leaving gaps or overlaps.
- Solution:
- Double-check the pattern: Ensure the lines are clear and meet precisely.
- Precise Cutting: Use a sharp scroll saw blade and follow the lines meticulously. Avoid over-cutting or under-cutting.
- Consistent Angle: Maintain the correct angle when cutting the side pieces.
- Sanding for a Perfect Fit: After cutting, sand the edges to ensure a flush fit. Use a sanding block or a sanding drum on a rotary tool for accuracy.
Warping or Distorted Shape:
- Problem: The assembled bowl looks misshapen or uneven.
- Solution:
- Check the pattern for symmetry: The pattern should be symmetrical around the central axis.
- Wood Thickness Matters: Ensure the pattern is designed for the wood thickness you are using. If not, you may need to scale the pattern, or adjust the cutting angle.
- Careful Glue-Up: Clamping is key. Use clamps to hold the pieces firmly in place while the glue dries. Ensure the pieces are aligned correctly before clamping.
- Gradual Assembly: Assemble the bowl in stages, allowing each stage to dry completely before adding the next pieces.
Difficulty with the Bottom Piece:
- Problem: The bottom piece doesn’t fit properly, often being too small or too large.
- Solution:
- Precise Cutting: Ensure the bottom piece is cut accurately based on the pattern.
- Sanding Adjustments: Be prepared to make minor sanding adjustments to the bottom piece for a perfect fit.
- Consider the Expansion: Factor in the potential for wood expansion or contraction due to humidity.
Pattern Scaling Issues
- Problem: The pattern is the wrong size, or the pattern doesn’t match the wood you have available.
- Solution:
- Print to Scale: Ensure that your printer settings are set to print at 100% scale.
- Measure and Verify: Before cutting any wood, measure the printed pattern and compare it to the intended dimensions.
- Modify or Remake: If the pattern needs to be resized, consider using a software program to adjust the dimensions.
Tips for Success: Pattern Selection, Preparation, and Execution
Beyond addressing the problems above, consider these additional tips for a smooth scroll saw bowl-making experience:
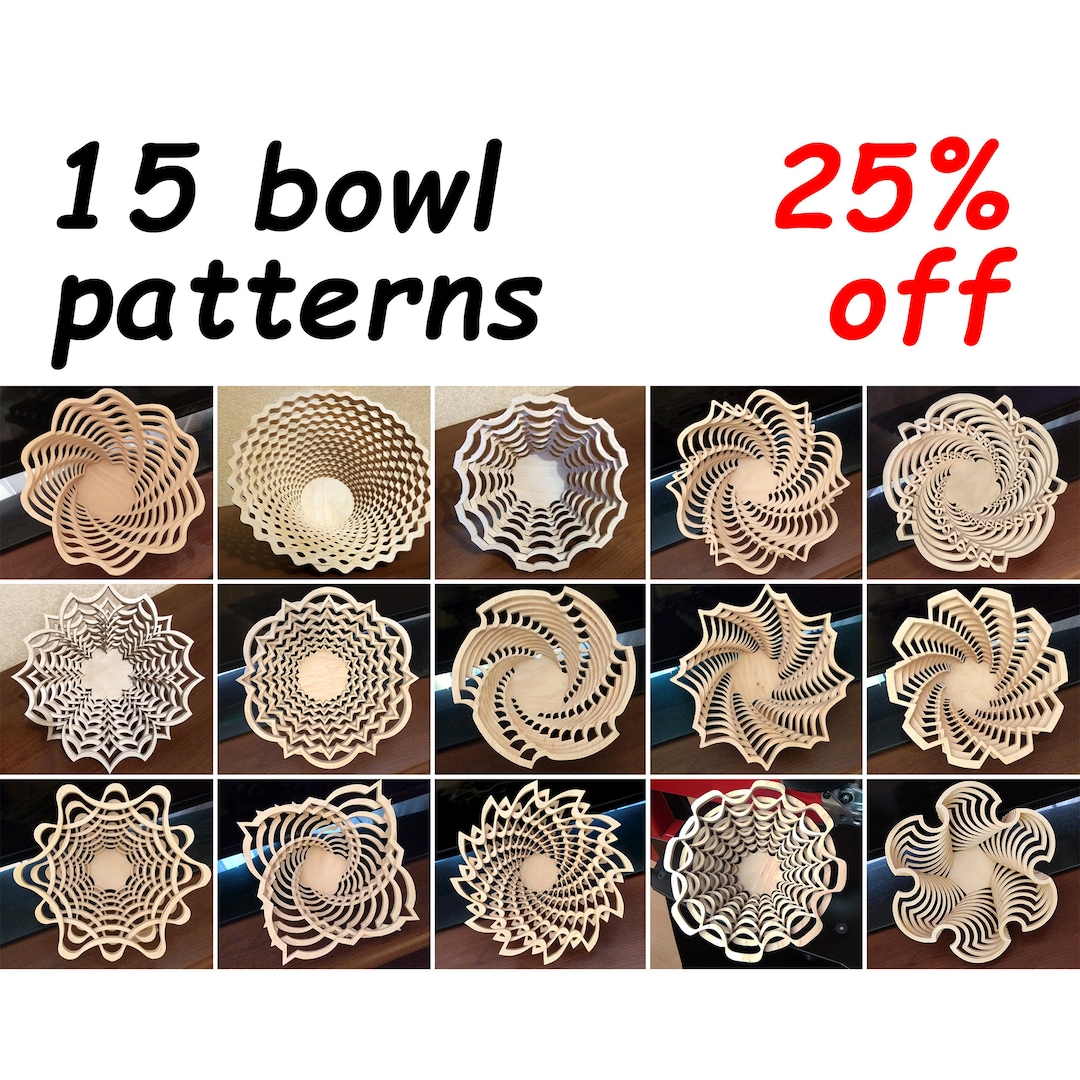
- Choose High-Quality Patterns: Look for patterns from reputable designers who have tested their designs and provide clear instructions. Read reviews to gauge pattern quality.
- Print on Sturdy Paper: Use a thicker paper stock to prevent the pattern from tearing during cutting.
- Adhesive Selection: Use a spray adhesive or painter’s tape to securely attach the pattern to your wood. Avoid glues that can bleed through and stain the wood.
- Sharp Blades: Use the appropriate blade for your wood type and thickness. Replace blades frequently to maintain clean cuts.
- Practice: Start with a simpler pattern to build your skills and confidence.
- Consider Software: Some scroll saw software allows you to design or modify your own patterns, giving you more control over the final product.
Conclusion: Crafting Perfect Scroll Saw Bowls
Successfully creating scroll saw bowls from printable patterns requires attention to detail, a solid understanding of the challenges involved, and a willingness to adapt. By understanding the potential pitfalls, using high-quality patterns, employing precise cutting techniques, and carefully assembling your pieces, you can overcome the common problems and create beautiful, functional bowls that you’ll be proud to display. Remember, patience and practice are key.
Frequently Asked Questions (FAQs)
Q: What wood is best for scroll saw bowls?
- A: Hardwoods like walnut, cherry, maple, and mahogany are excellent choices due to their strength, workability, and aesthetic appeal. Consider the wood’s grain and figure for visual impact.
Q: How do I calculate the wood thickness for my pattern?
- A: Many patterns specify a recommended wood thickness. If not, you can measure the thickness of the wood you intend to use and adjust the pattern accordingly, either by scaling it or by adjusting the cutting angles.
Q: Can I modify a scroll saw bowl pattern?
- A: Yes, absolutely. You can modify patterns using software or by carefully redrawing the lines. Ensure any modifications maintain the bowl’s structural integrity and aesthetic balance.
Q: What kind of glue is best for assembling a scroll saw bowl?
- A: Wood glue is essential. Use a high-quality wood glue designed for interior use. Ensure the glue is appropriate for the wood you are using.
Q: How do I finish my scroll saw bowl?
- A: Sand the bowl thoroughly and apply a food-safe finish if the bowl will be used to hold food. Options include mineral oil, beeswax, or a food-safe varnish. Always follow the finish manufacturer’s instructions.
